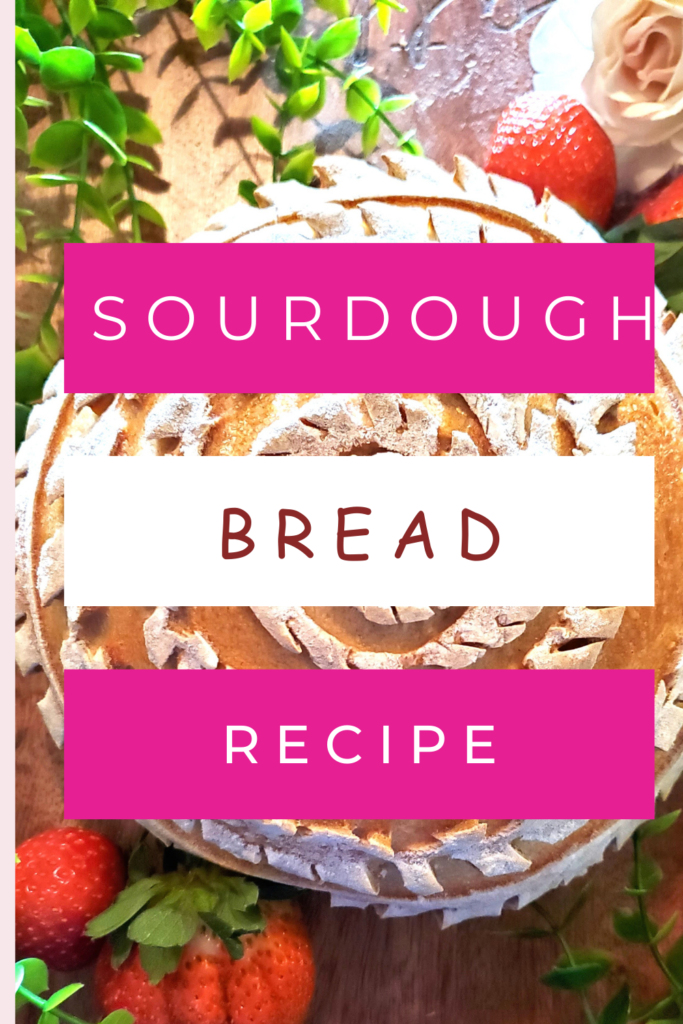
Unique Pumpkin Shaped Bread That Looks Like a Decorations
Dearest Reader, I have exciting news to share with you all! I have crafted a pumpkin shaped bread!! These results leave me utterly elated as the road has been long in my sourdough baking journey! I have been baking bread for over three years now, and crafting designs out of dough is truly a favorite for this baker.
How to Shape Sourdough Into A Pumpkin?
I have shared with you this baker’s pumpkin shaped bread, but it is within my belief that you may want to know how to craft one of your own! Let’s walk through this together, shall we!
In this article, we will only be covering how to cut out this shape. You can use almost any bread recipe, so long as you have enough mass to design the shape you want. However, if you want to follow our sourdough recipe, I’ll be posting a step-by-step guide next week.
Supplies To Recreate Pumpkin Shaped Bread
- Bread Lame
- Scissors (You can use almost any kitchen scissors. These are the ones I’ve used to create this design)
- Parchment paper
- Spray bottle (optional)
- Patience! One of the most important tools to have in your arsenal
Pumpkin Shaped Bread Step 1: Be Patient
I LOVE sharing with you my best work as it excites me to showcase what hard work and patience can accomplish over time. However, it is equally important to showcase the missteps it took to get there!
The pumpkin shaped bread displayed above was one of many failed attempts that turned into a great learning opportunity. Every loaf of bread I tucked into my red, Dutch oven and entrusted into the confines of my beloved oven came with a lesson in one way or another. I would make note and improve the craft little by little to help ensure the next installment of my baking journey would improve.
I say this to encourage you wherever you may be on your baking journey to be kind to yourself above all. If you are not kind and give grace to yourself then you run the chance of choosing not to bake the next loaf of bread. And that, Dearest Reader, would be nothing short of tragic.
Pumpkin Shaped Bread Step 2: Put Your Dough in the Fridge (not freezer) for At Least 6 hours.
Putting your bread in the fridge for at least 6 hours makes the dough a little studier than when the bread is at room temperature. This makes your incisions more precise considering the dough is less soft.

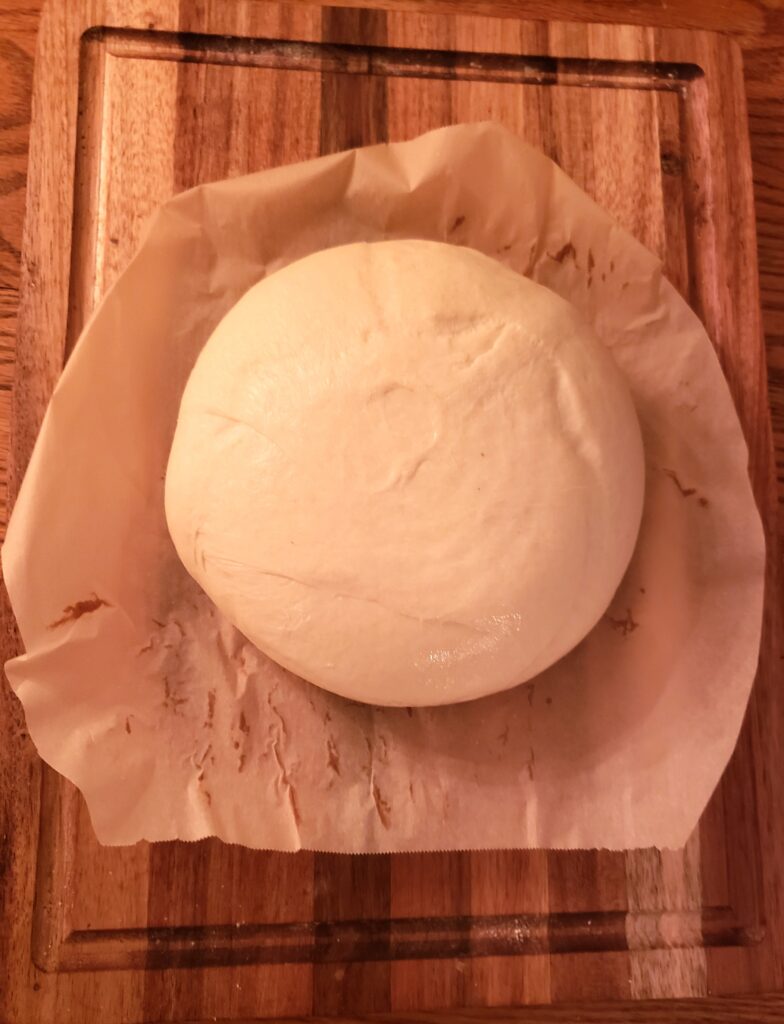
Pumpkin Shaped Bread Step 3: Lightly Water & Cover Dough in Flour.
Place your dough on a sheet of parchment paper and use a spray bottle to mist the dough in water. You can also wet your hand and manually wet the surface before covering the dough with flour. You’ll want a decent amount of flour over the surface as you will use this to your aid in the next step.
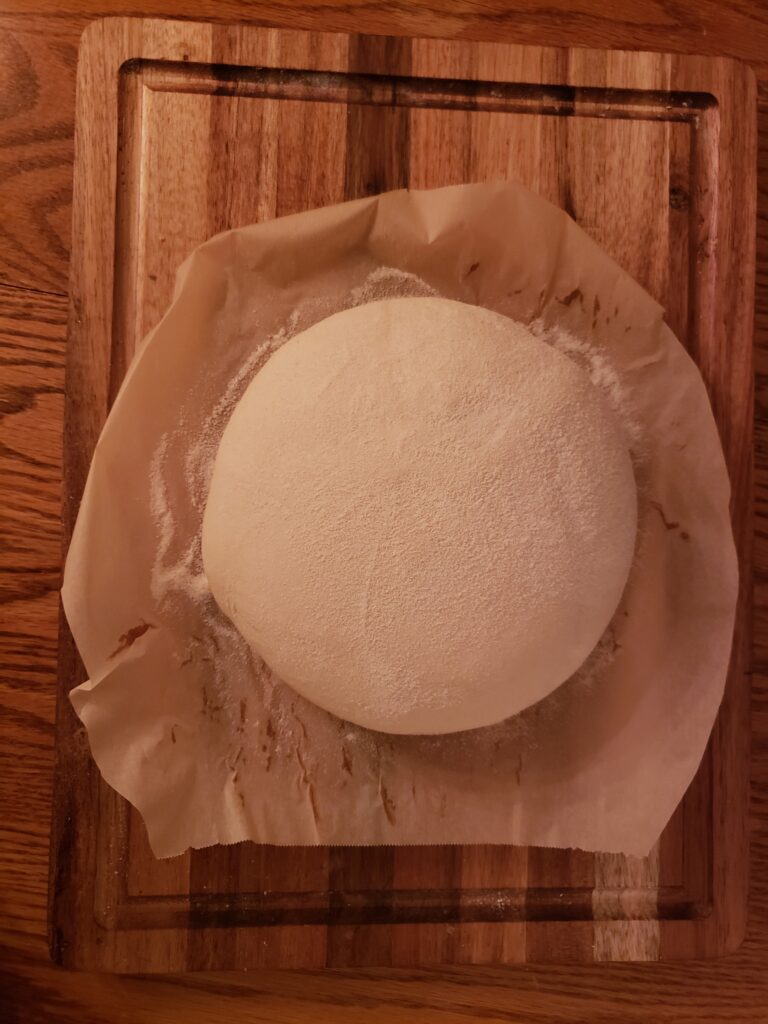
Pumpkin Shaped Bread Step 4: Trace the Design on the Flour Layer.
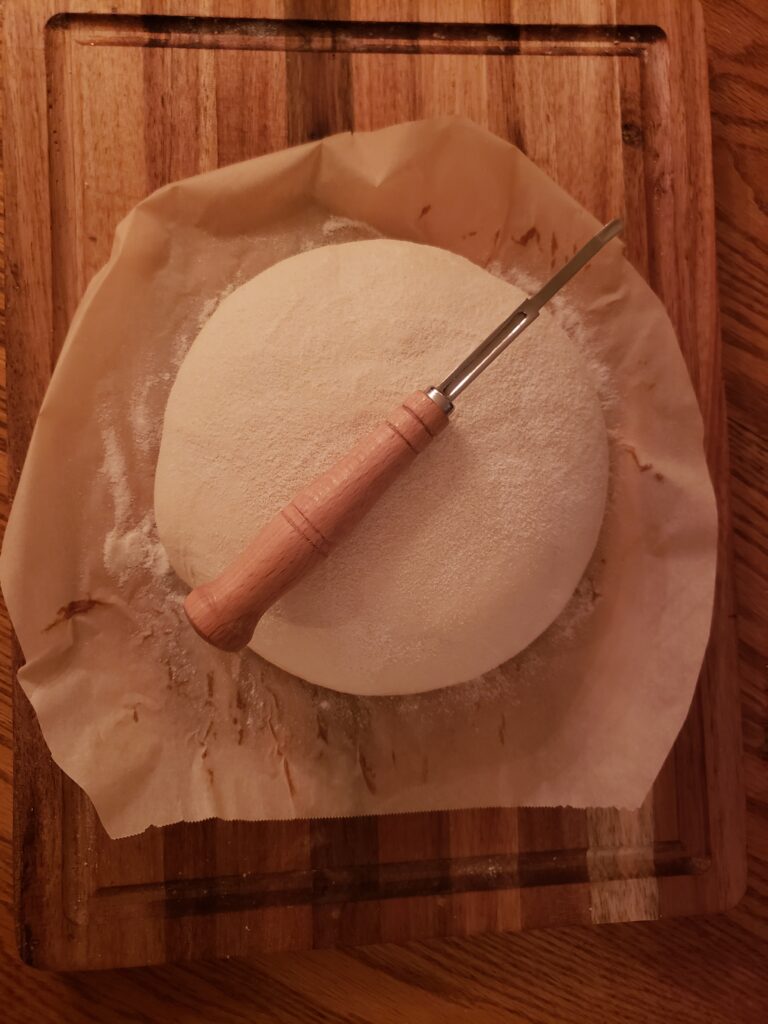
I utilized the tip of this bread lame handle to trace the pumpkin design onto the layer of flour. Do not cut into the bread at this stage…you are merely marking where you want your incision to be. If you do not like how your initial markings look then merely erase the lines and start again.
Pumpkin Shaped Bread Step 5: Make Your Incision / Incision Depth
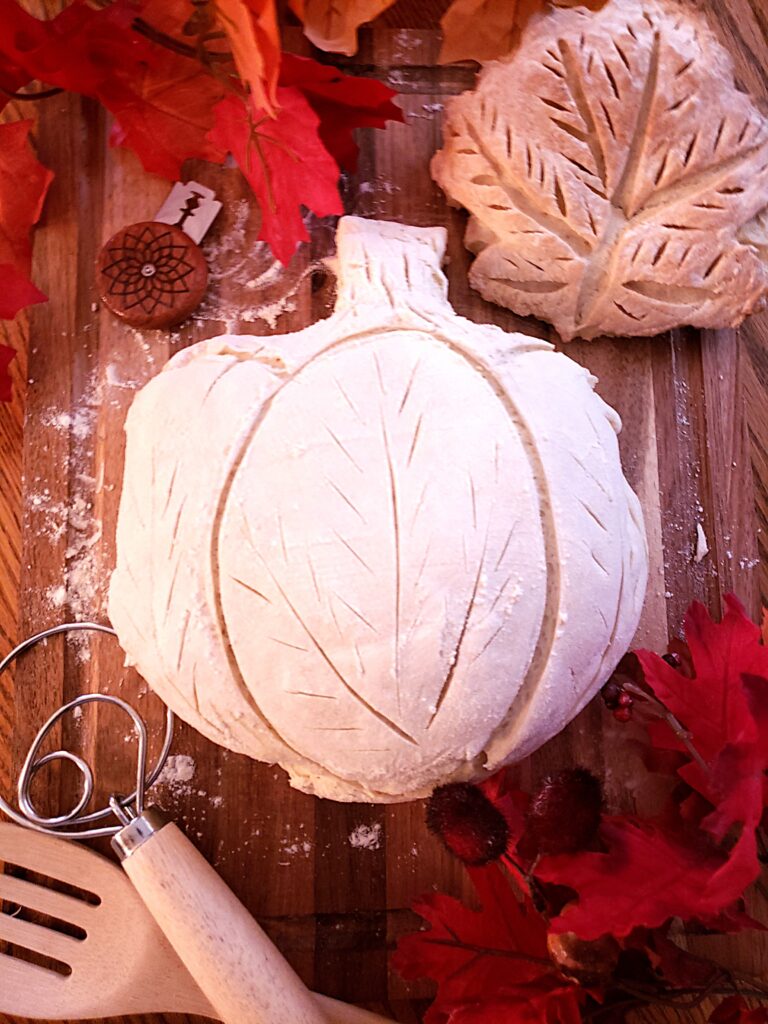
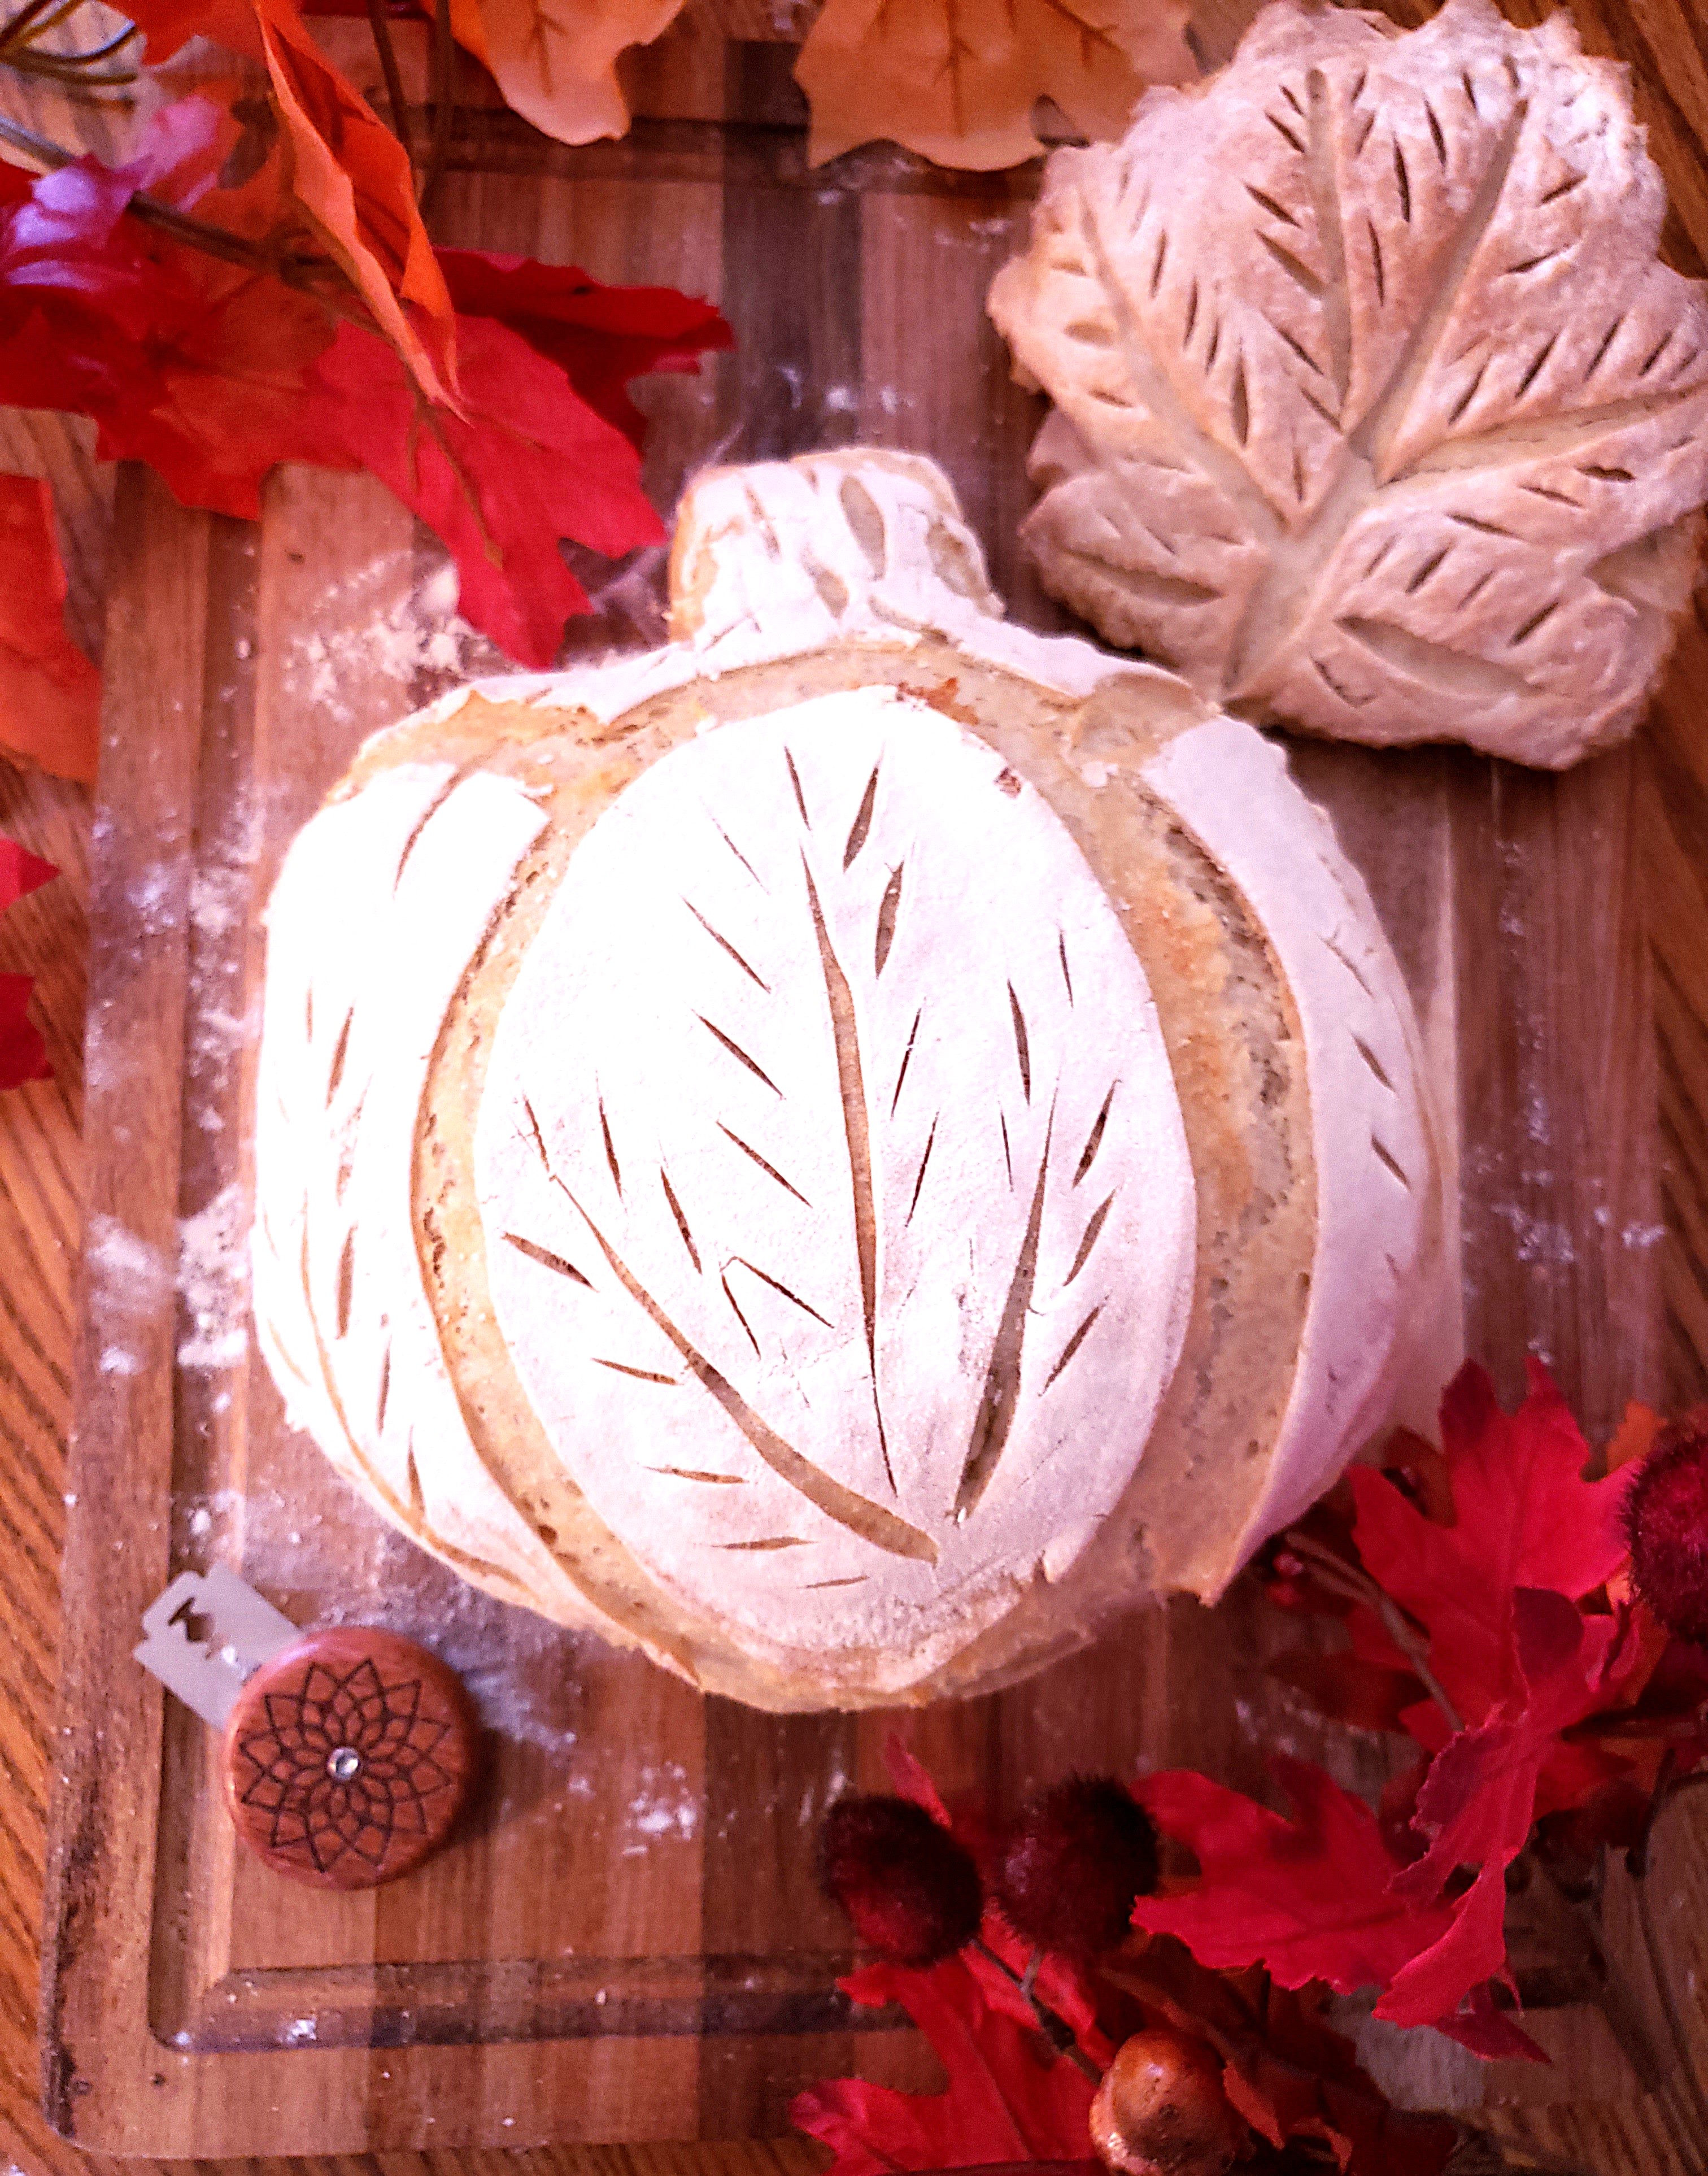
After you are satisfied with tracing out your pumpkin design, you can now make your first incision. I used a lame to cut into the bread. The stem is the trickiest part, and it may take a few baking attempts to get this step just right. Use scissors to cut out a chunk of dough until you have a stem-like shape.
Incision Depth
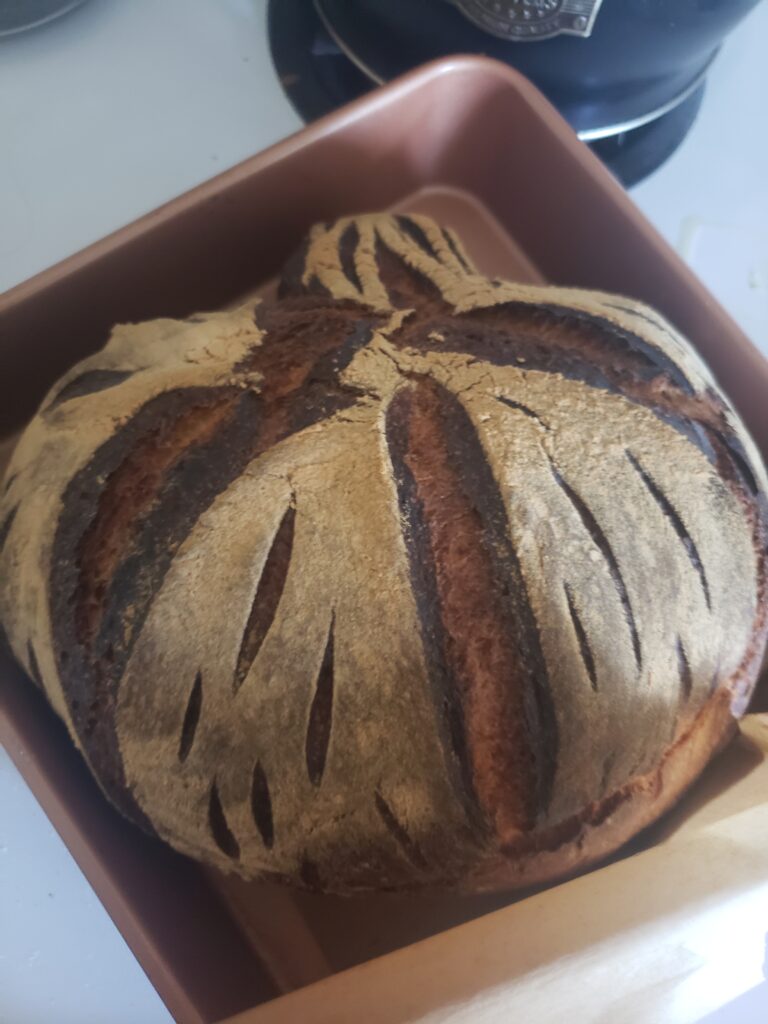
The depth of your incisions are quite important to note when cutting into your dough. Do you notice in the image above some of my cuts are deeper than others? The deeper the cut the more that section of the bread will open up when baking.
The more surface level the cut, the less likely the dough will widen when baking. Compare the image above to the image below and note how the deeper incisions expanded after baking in the oven. This is a great tool to have in your arsenal as it allows you to somewhat control how the dough reacts in the oven.
Pumpkin Shaped Bread Step 6: Try, Try Again
Remember even if the bread doesn’t come out right the first time, it does not mean you give up! This is a learning experience, and this should be an exciting journey to undertake! Please share with us your masterpieces, should you choose to attempt this endeavor!
Where To Next?