Creative Ways To Host A Peter The Rabbit Garden Party
What would be more spectacular than hosting your very own Peter the Rabbit party? The Beatrix Potter original children’s books are among the most iconic children’s books out there! It doesn’t matter if you’re wanting to host a Peter the Rabbit birthday party, baby shower, or a fun Beatrix Potter get-together with your friends! I’m here to share with you the best tips to create the ultimate party experience for your guests! We’ll help provide you the tools to ensure whatever event you want to host; the party will feel it was inspired by the artist herself!
When It Is Appropriate To Host A Peter The Rabbit Themed Event?
Short Answer…whenever you really, really want to. 😉
I went back and forth on this a lot myself! I found most of the parties I saw online were for children’s birthday parties and baby showers! All of which look OUTSTANDING, by the way! However, as a personal fan of the original creator Beatrix Potter, and someone who doesn’t have children I still wanted to host this kind of event as my family’s Easter Sunday meal.
The best bit was that everyone ended up having a great time and adored the theme! The Peter the Rabbit vegetable garden became a huge fan favorite and was the staple for the party! Most everyone has fond memories of Beatrix Potter’s children’s stories, so to bring off of this to life for our guests was well worth it!
This post is all about making your very own Petter The Rabbit party!
All products featured on Cailey Maclean are independently selected by our editors. Cailey Maclean is not sponsored by any of the following item suggestions.
TABLE OF CONTENTS
- Peter the Rabbit Party Aesthetic
- Decorations: Peter the Rabbit figurines
- How To Choose Your Party Colors
- How To Create the Veggie Display
- How To Make The Party Crafts
- Recreate The Spring Outfit
- Invitations
- How To Recreate The Tablescape
PETER THE RABBIT PARTY AESTHETIC
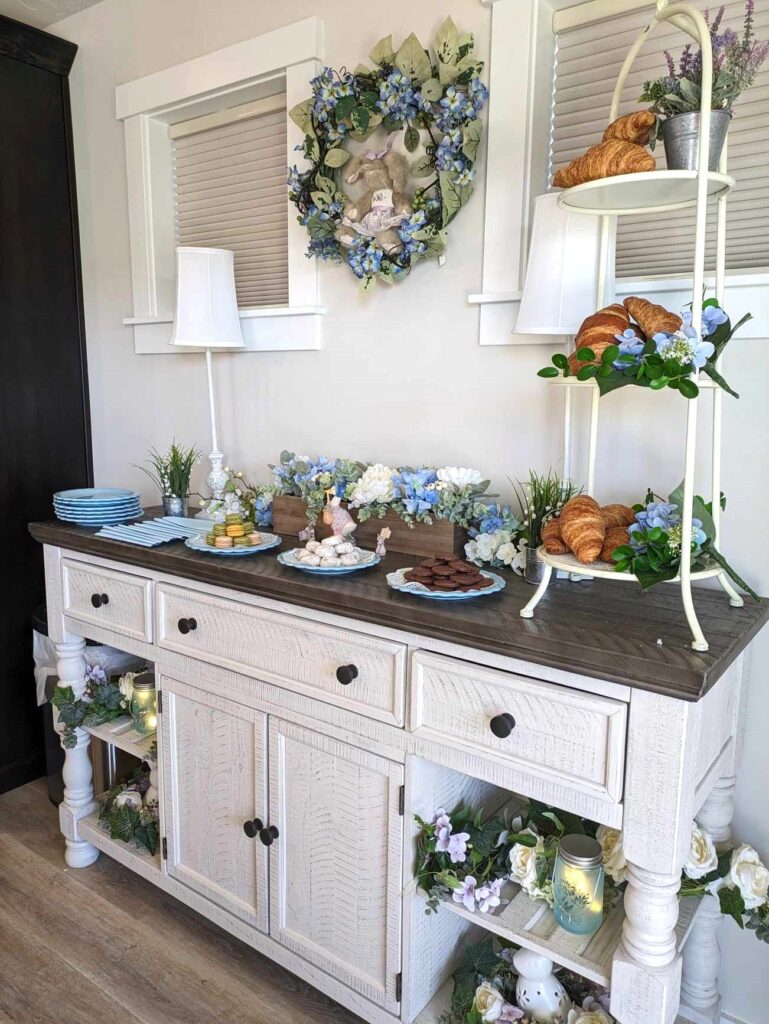


DECORATIONS
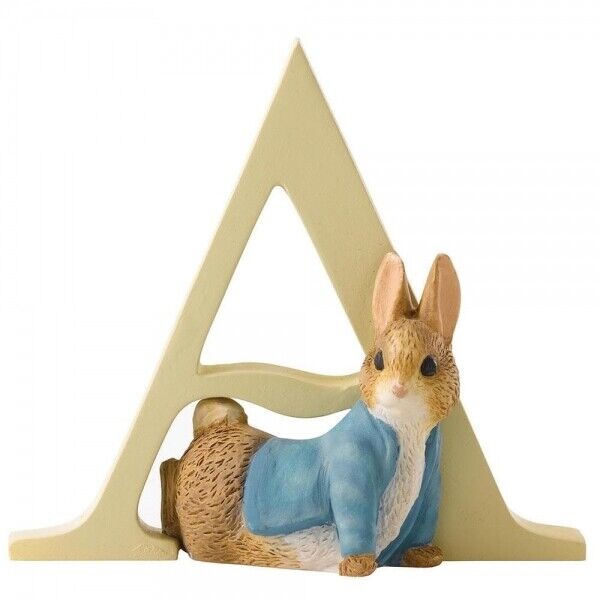
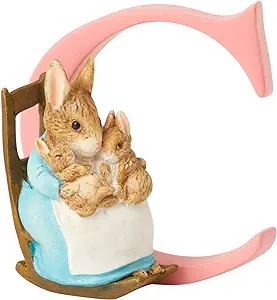
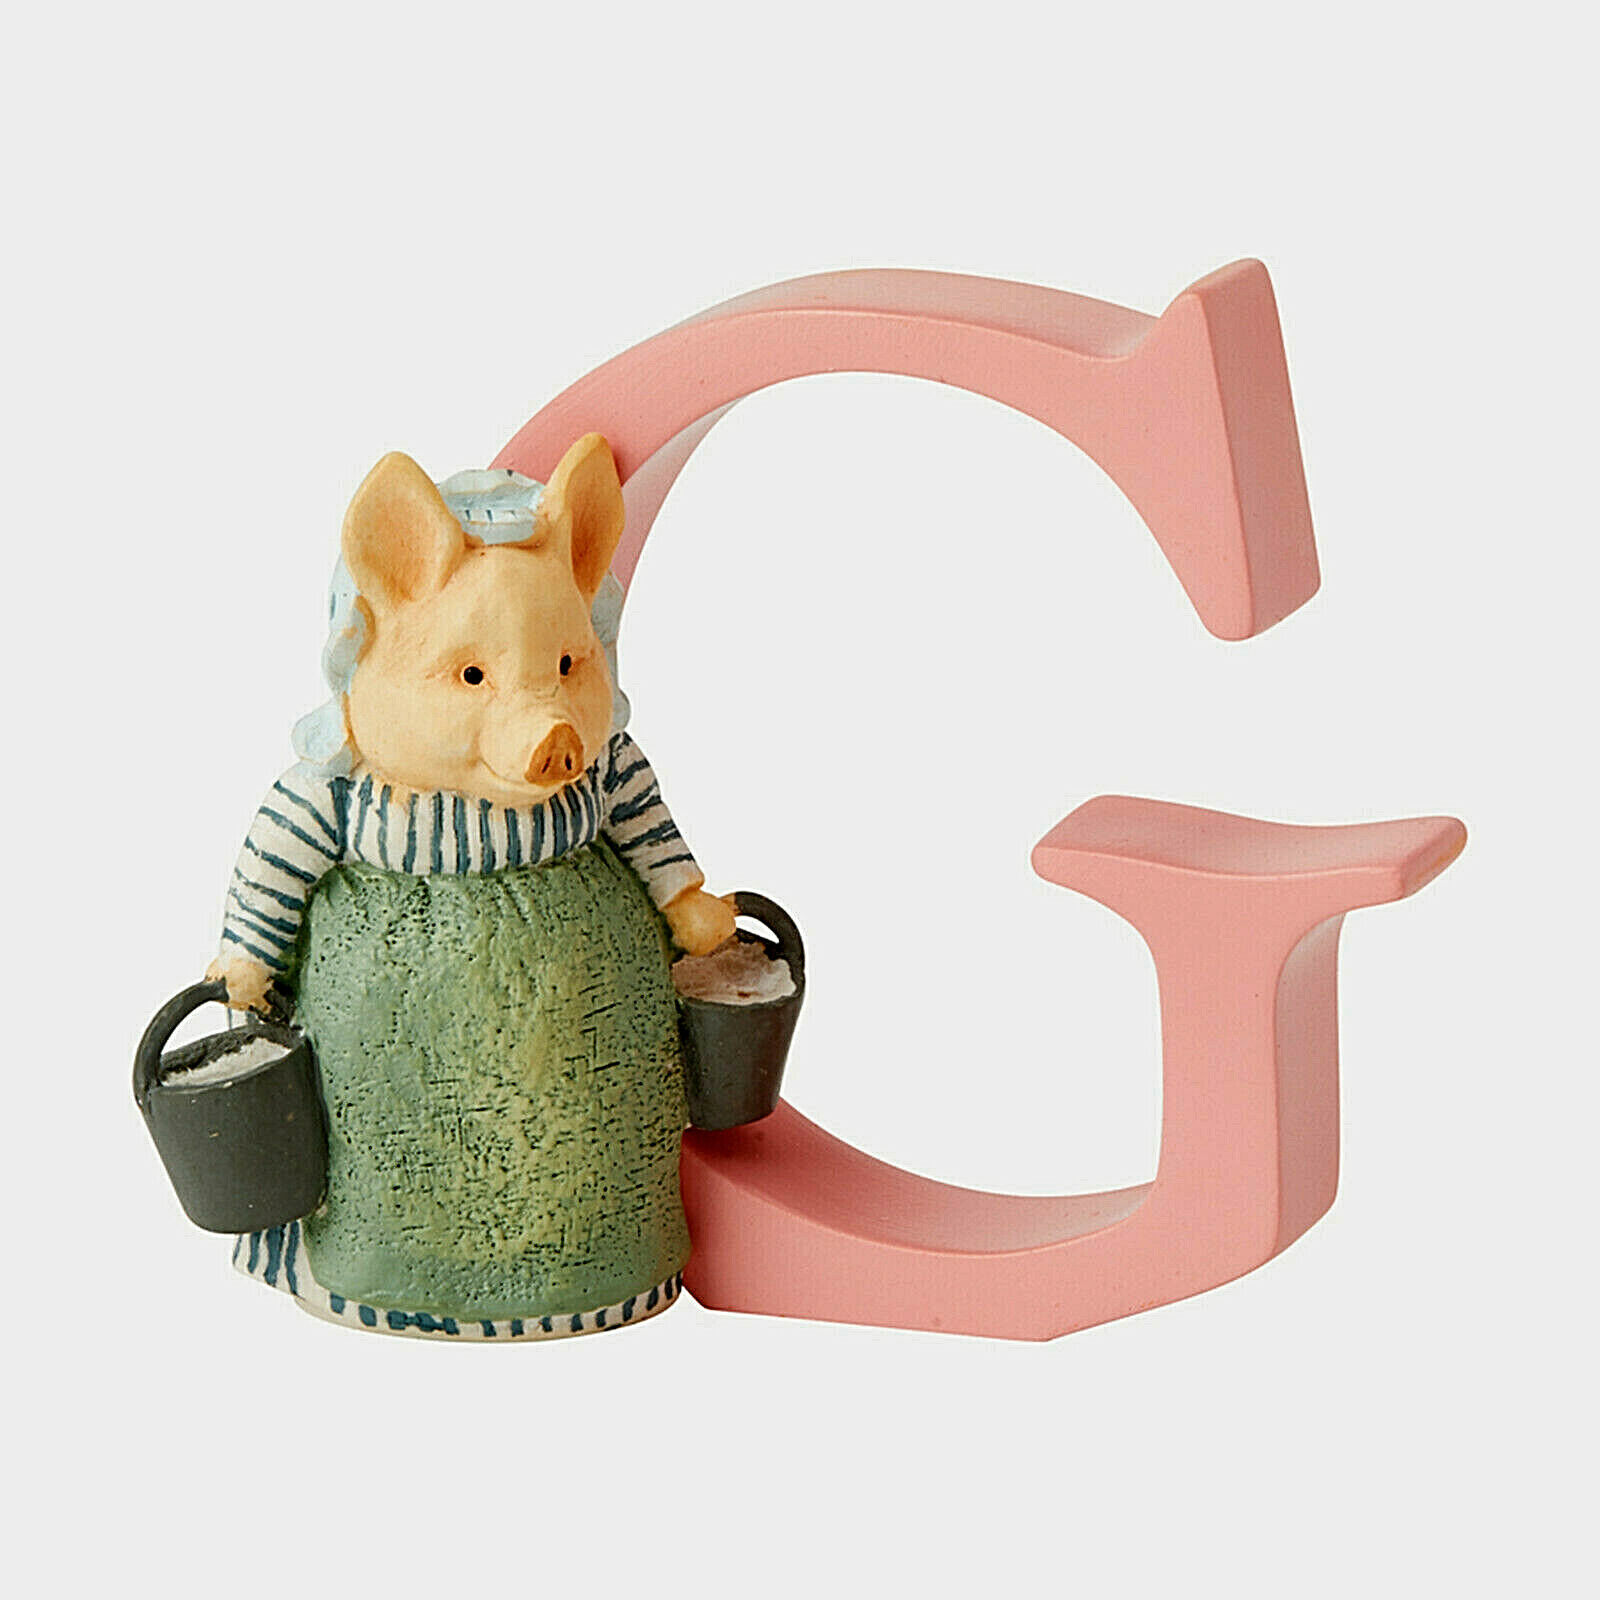
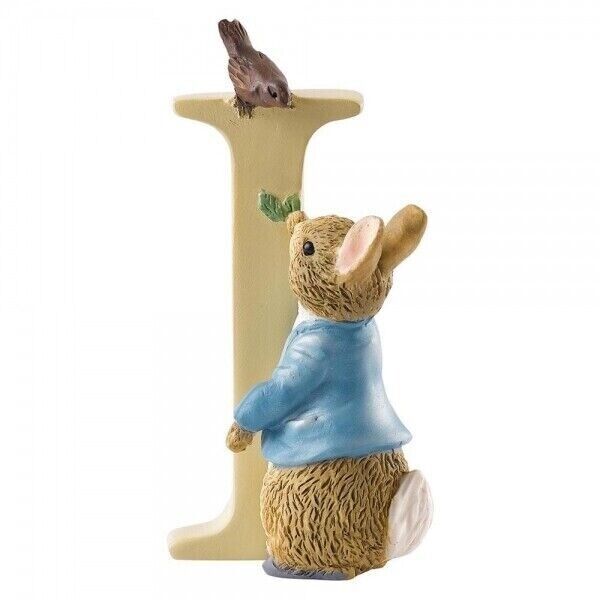
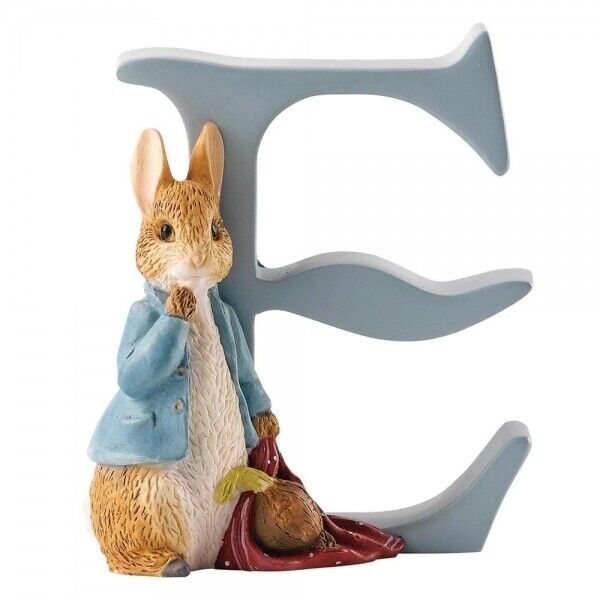
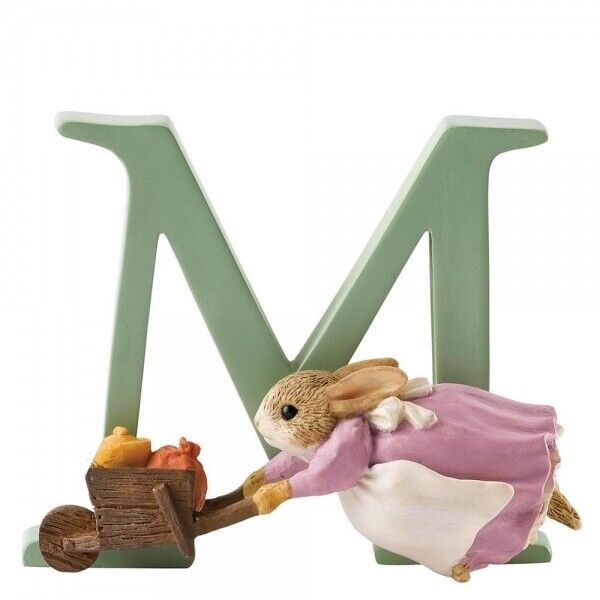
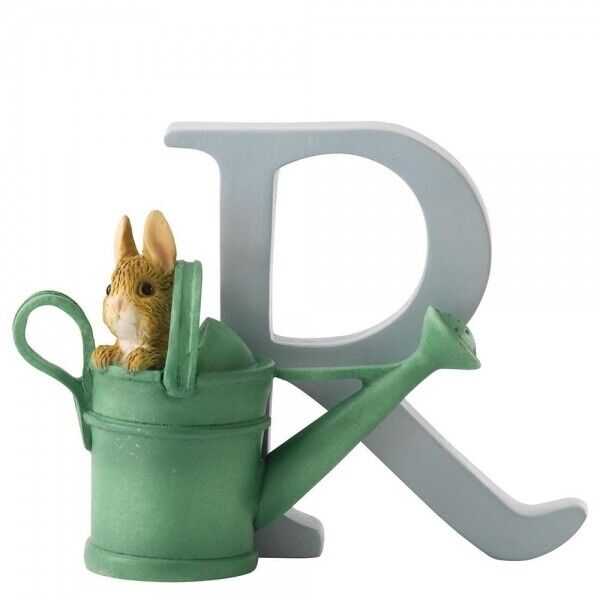
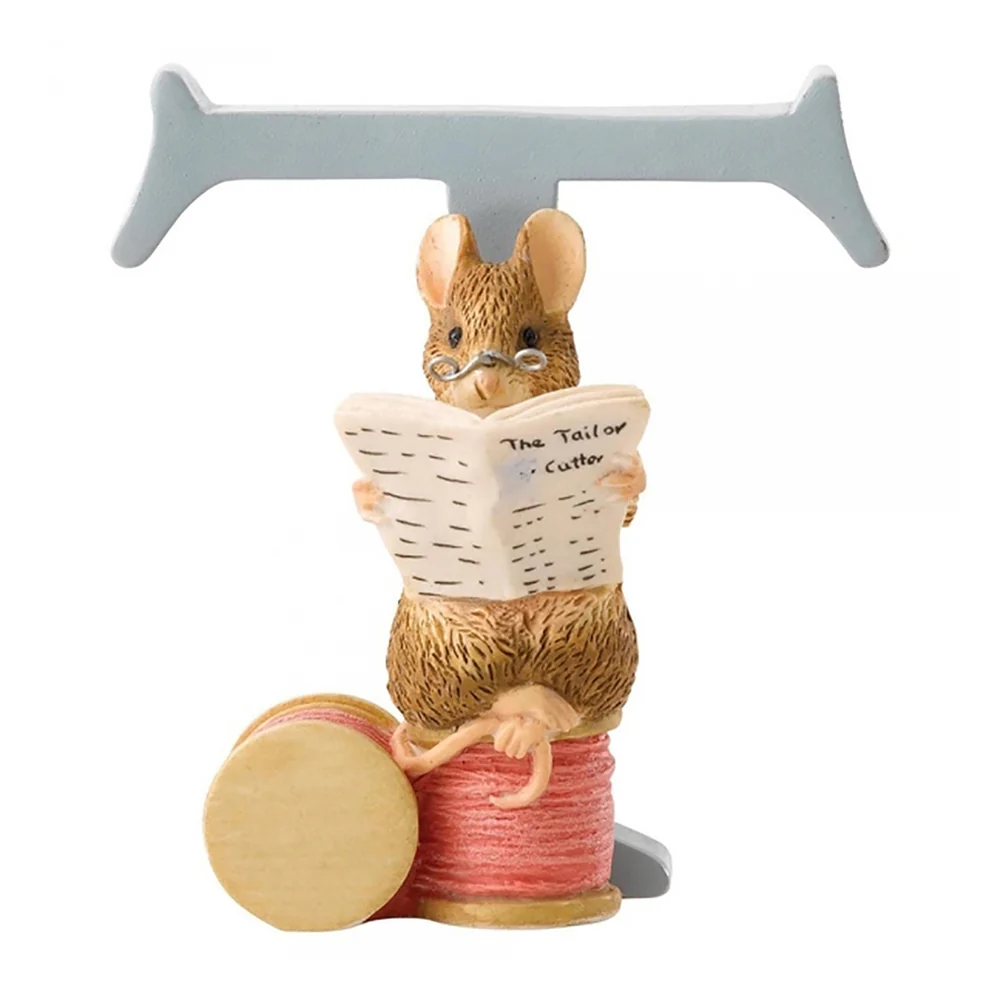
PETER THE RABBIT FIGURINES

Get The Look…
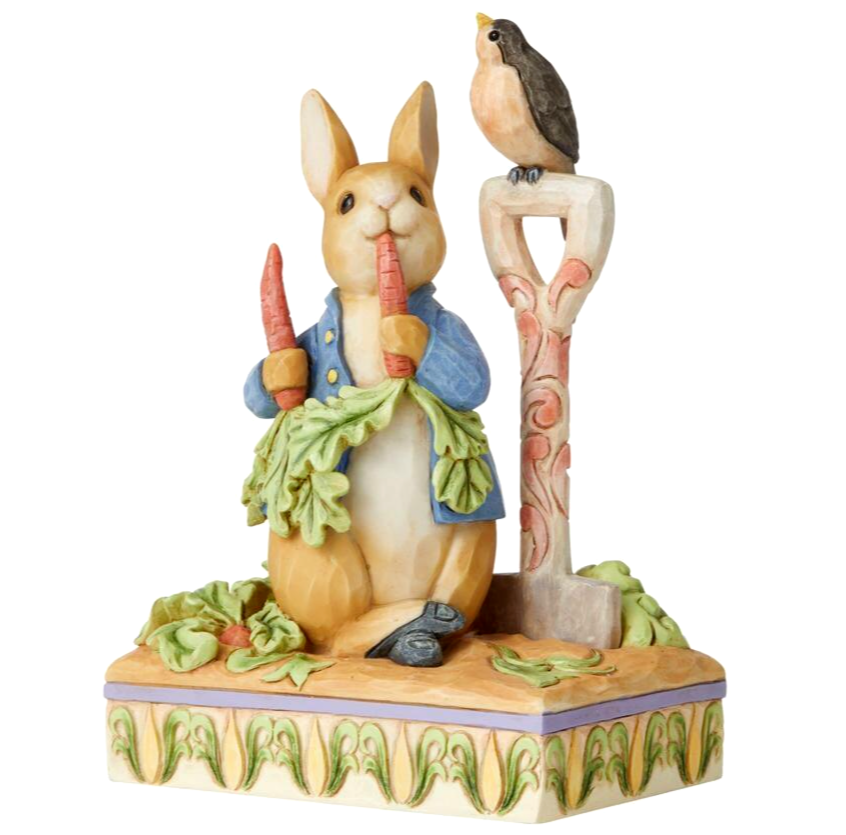
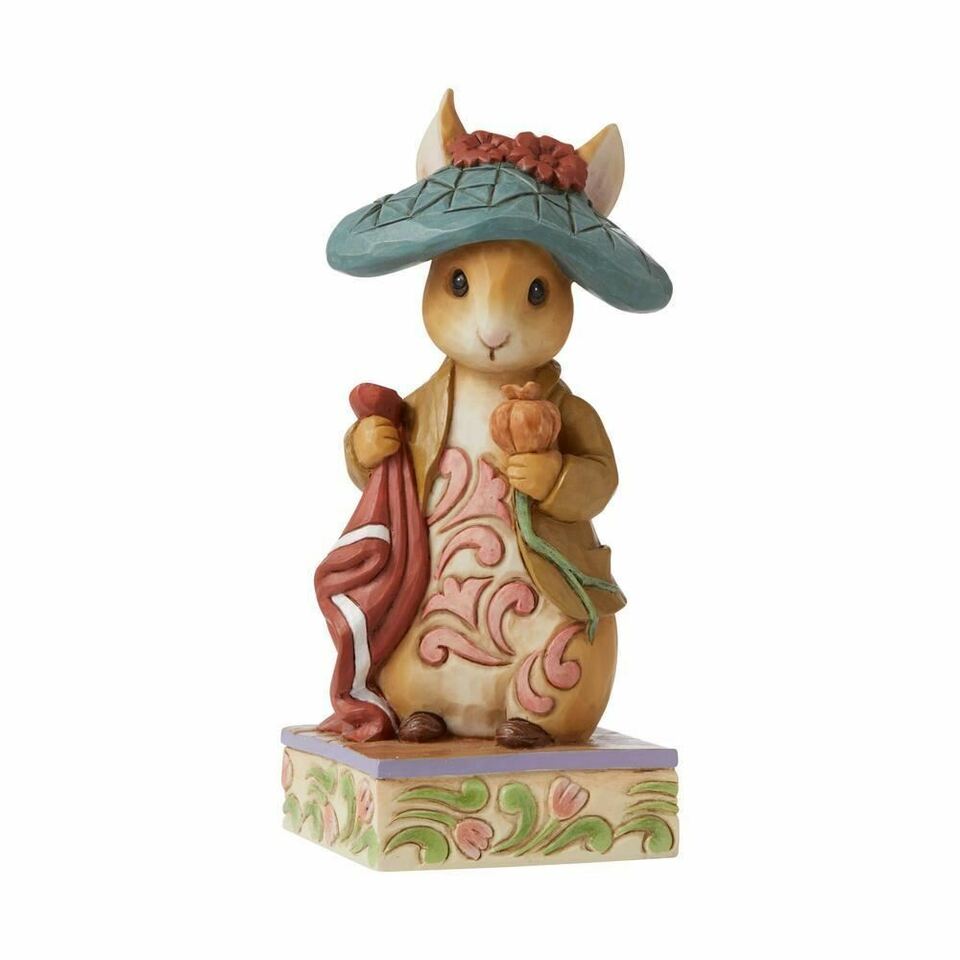
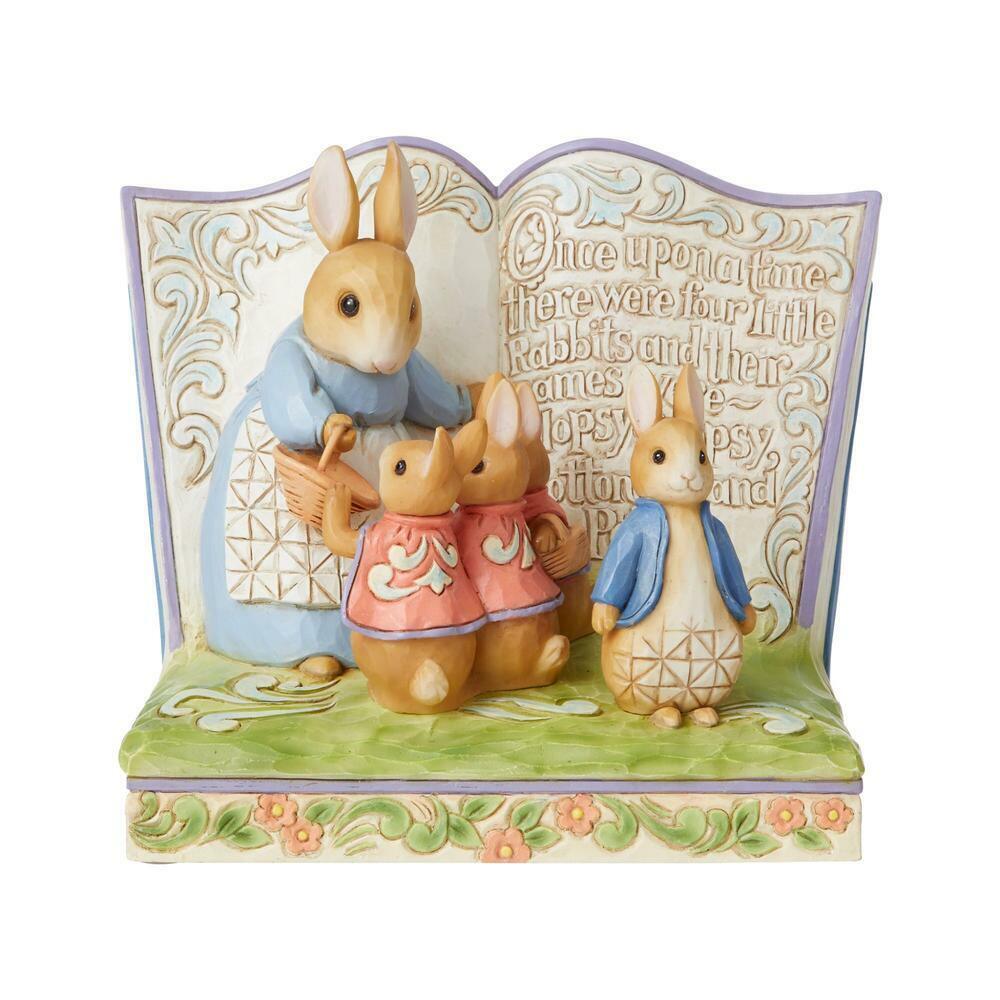
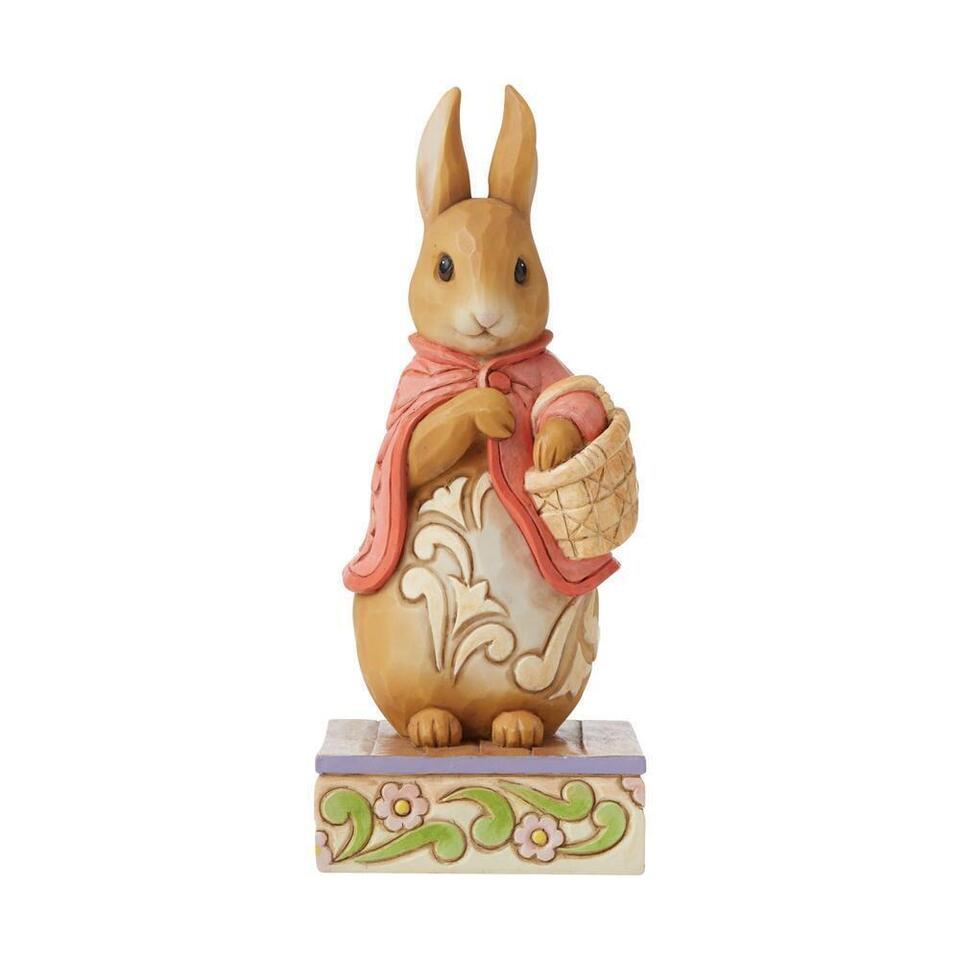
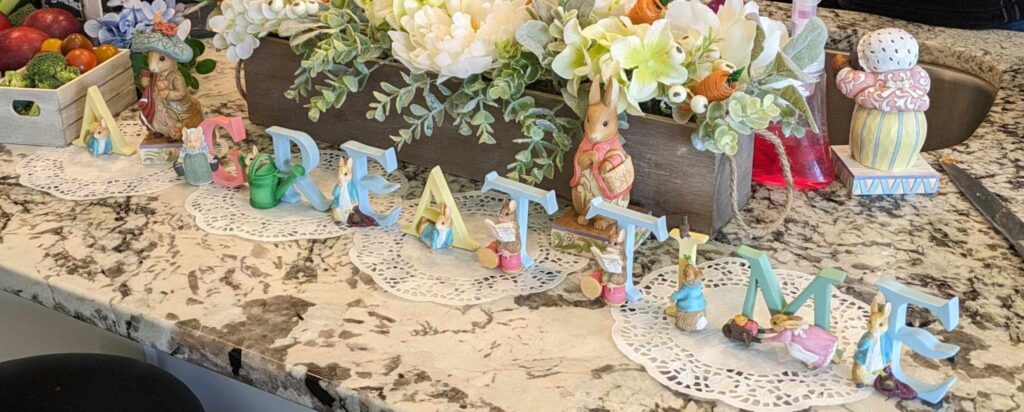
The Beatrix Potter letters are difficult to collect as they were released around 2020. However, while we carry a few of the letters, I did a search on each letter to find all of the other sellers who might still have these adorable figurines available. Always keep an eye out for someone who may be selling a letter you’re on the hunt for!
PETER THE RABBIT COLOR THEME
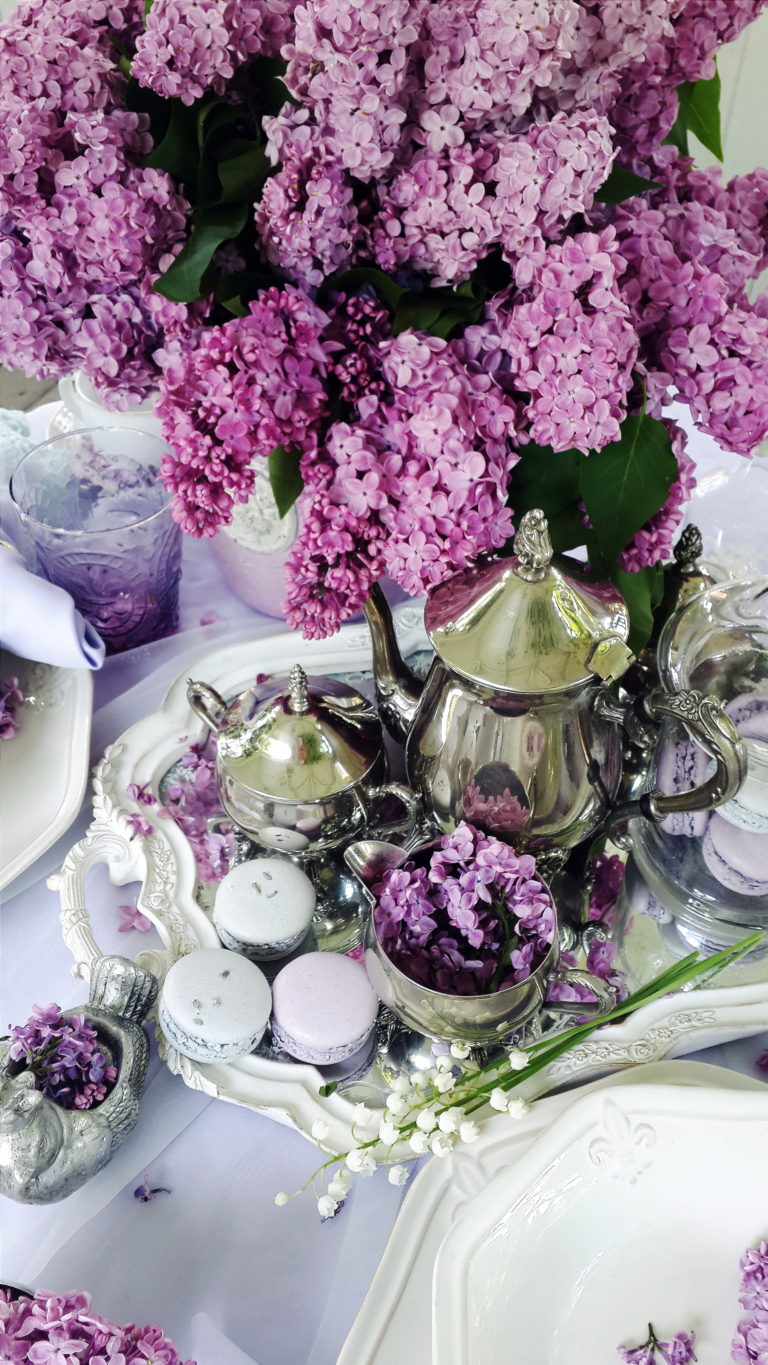
When we hosted our party, we chose lighter blues to be the reoccurring color that was displayed throughout the various displays. However, what do you do if you don’t want blue to be your main color? Take a peak at Beatrix Potter’s original drawings and you’ll find beautiful colors reminding you of an English garden with pinks, blues, yellows, browns, greens, oranges, and so much more!
I chose to go with blue because we had the perfect blue plates and cups that matched the theme. However, if you look at the photos closer, there are touches of hidden purples, loud whites, and oranges because I knew the colors for the party had a lot of wiggle room.
HOW TO MAKE THE VEGGIE DISPLAY
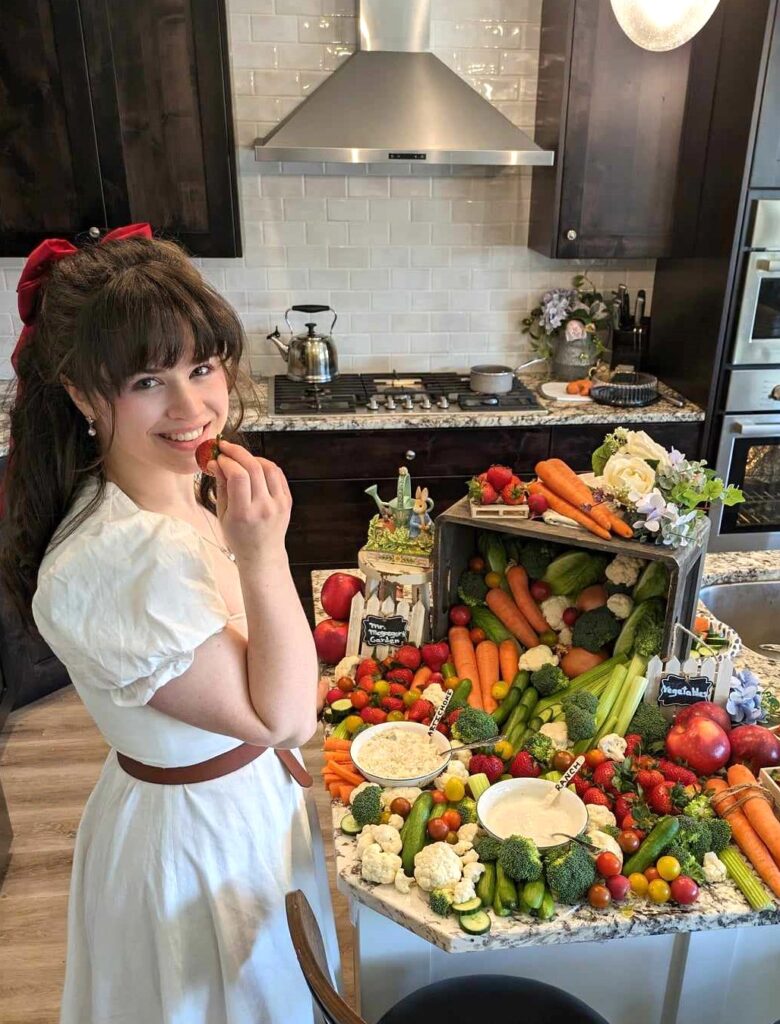
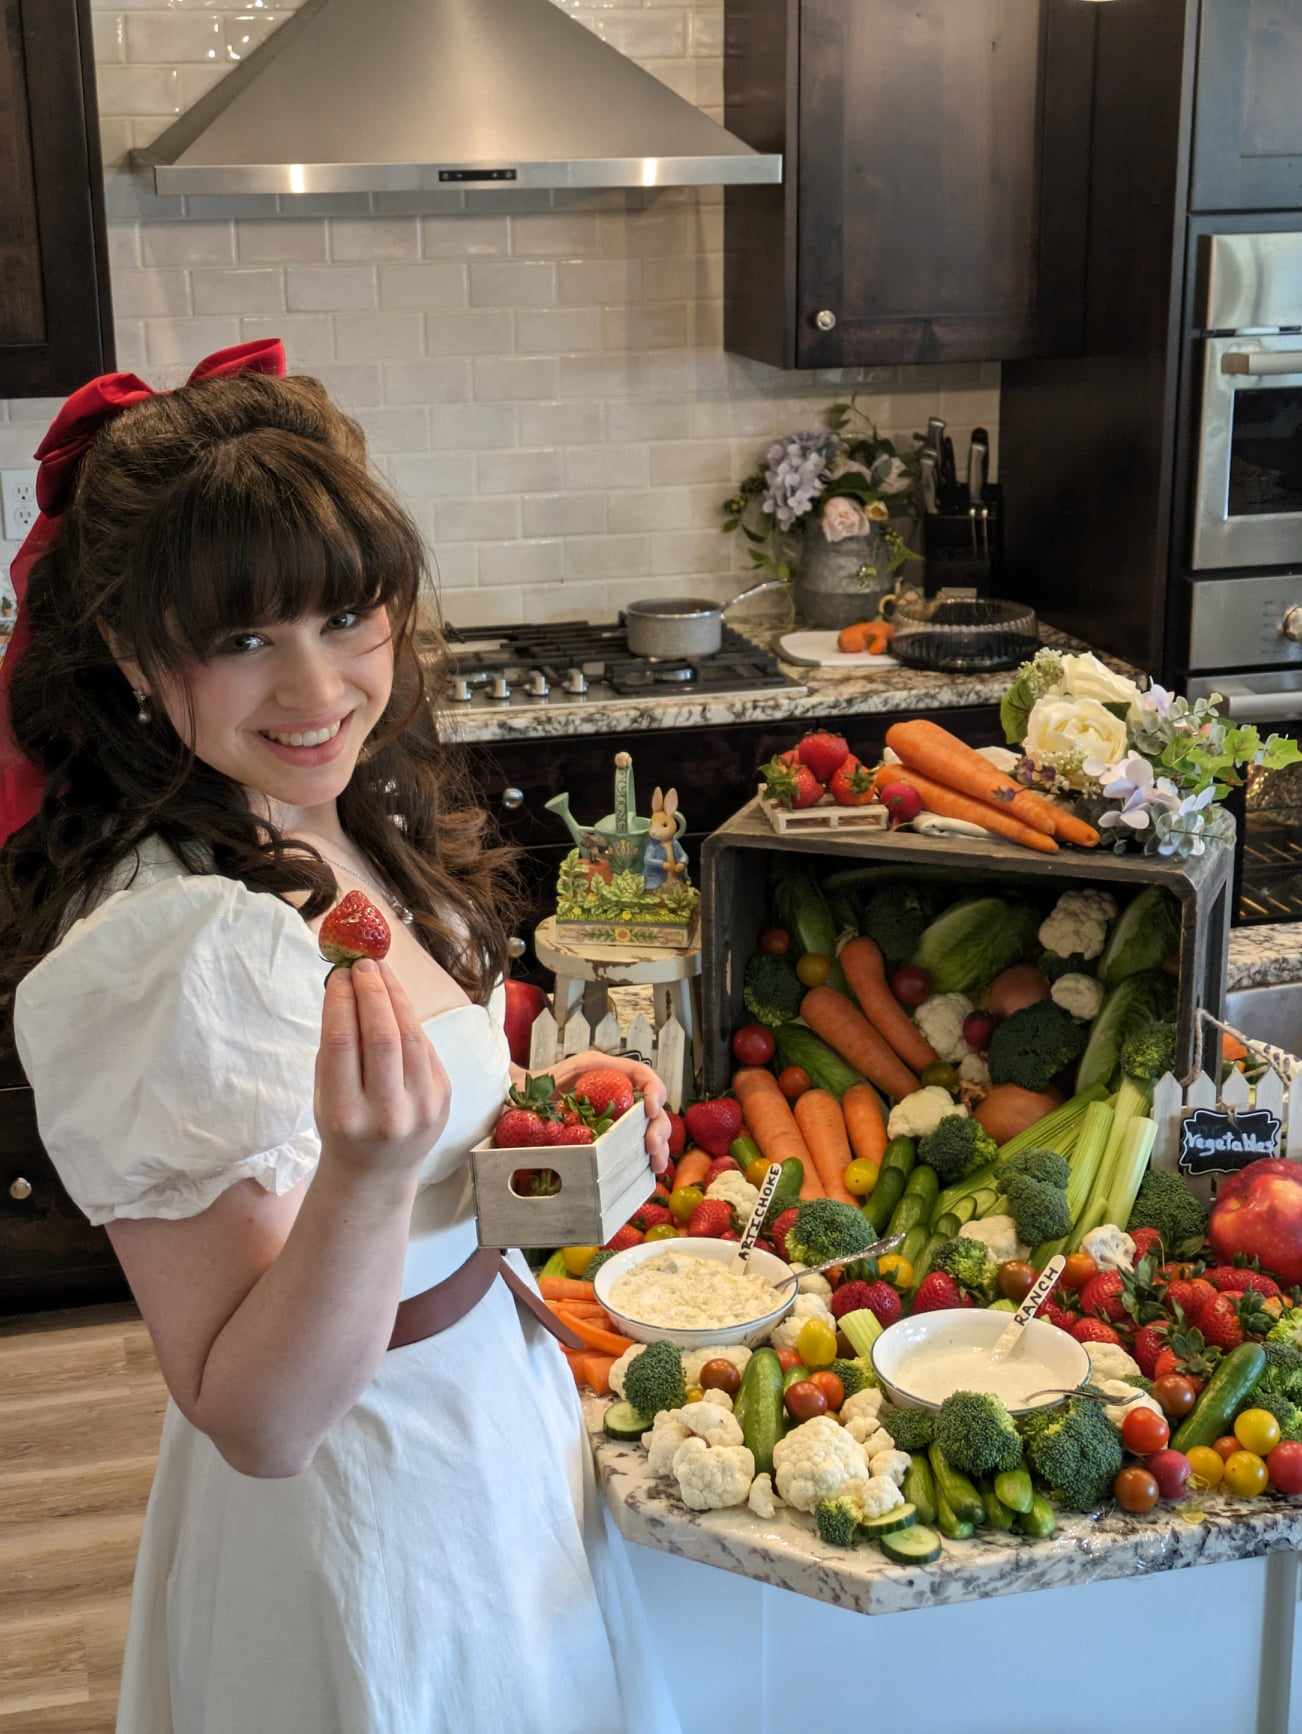
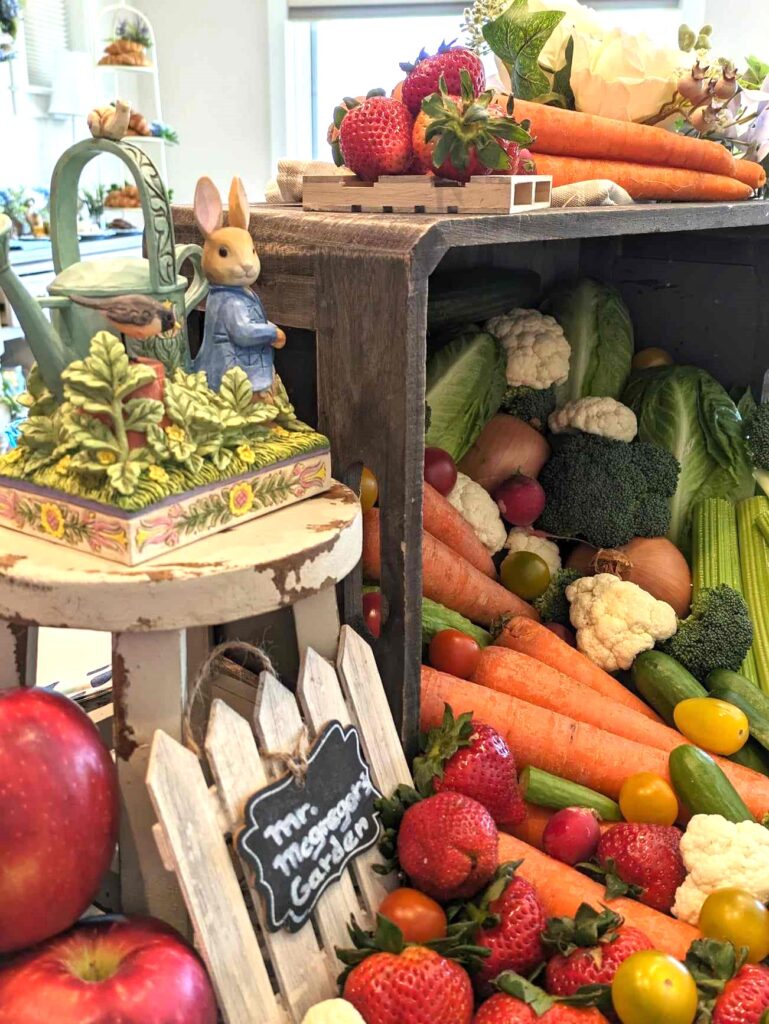
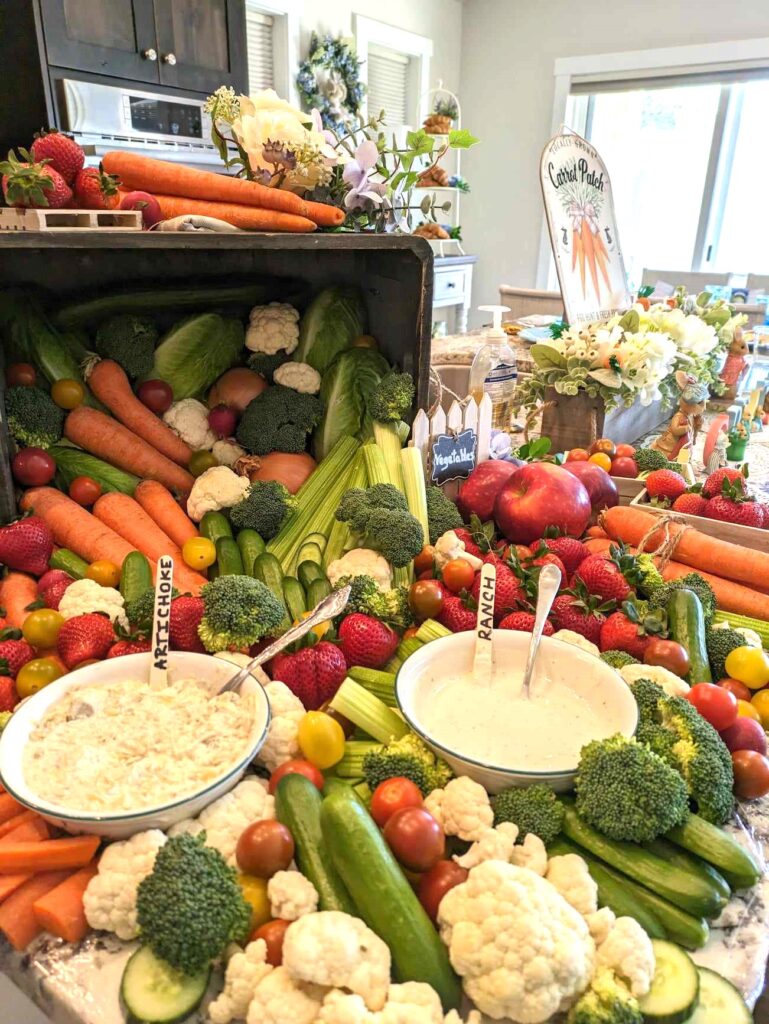
The story I wanted to create here was that a vegetable crate belonging to the famed Mr. Mcgregor fell over and dumped out some of Peter’s favorite veggies! Recreating Mr. Mcgregor’s garden was my favorite part of the whole party! The display quickly became the main highlight and instantly made people feel like they were in a Peter the Rabbit themed party. I still receive compliments on this display, and it is super cheap to put together! Vegetables are not nearly as expensive as other traditional food spreads like charcuterie boards or fruit displays.
Design The Look…
Supplies & Food You’ll Need
- Cellophane wrap
- Crate (to be set as the backdrop to your display)
- Twine
- Cauliflower
- Radishes
- Cherry tomatoes
- Lettuce
- Carrots
- Twine
- Broccoli
- Cucumbers
- Strawberries
- Apples
- Or…any veggies and fruits you want! 😉
- Artichoke, jalapeno, parmesan dip (Costco)
- Ranch dip
I’d never created anything like this, and I wasn’t finding anything on Pinterest that had the vision I creating. So I When I created this look I staged everything the night before.
Instructions:
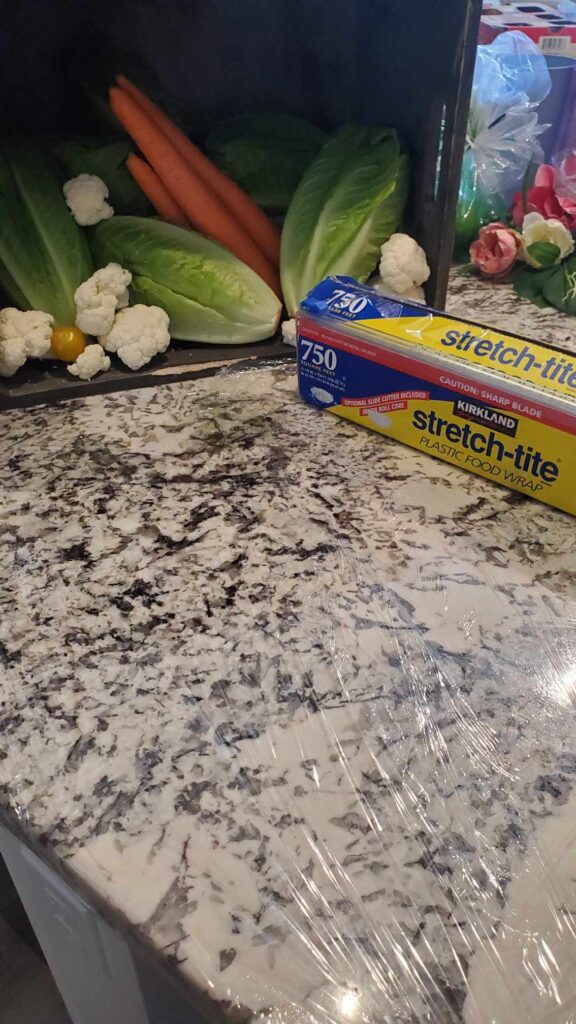
1.) Wash all the veggies and fruits the day before. This gives your food plenty of time to dry off and not get the counter all wet. If you don’t have time to do this then you can wash them and just dry all the food before laying them out.
2.) Cellophane the countertop where the food is going to sit. Originally, I was going to use parchment paper, but I loved the clean look the cellophane wrap presented.
3.) Create your display the day before & take a blueprint picture. If you’re new to creating displays like these then I recommend you do a trial run the day before and take a photo of your work. DO NOT leave the veggies out all night because they’ll wither really quickly.
When I created my display the day before it took me about three hours to figure out exactly how I wanted this display to work. I took photos and the next day I completed the display in about 45 minutes because I had the blueprint image from the day before.
4.) Use twine to tie up carrots. I would take three carrots and tie them together with twine and I was surprised some of our guests actually pointed out how much they appreciated this detail.
5.) Use blocks inside the crate to give you height. You can’t see it in the image, but I used blocks to create height for the veggies in the crate.
Bonus Tip For Evening Party: You can’t tell in the image, but I embedded twinkling lights underneath the veggies inside the crate. I realized how pointless this detail was for our daytime party, but I loved the way the display looked at night as it would illuminate inside the crate.
PETER RABBIT PARTY CRAFTS
HOW TO PAINT THE VEGGIE CRATES
The Easiest Craft You’ll Ever Do

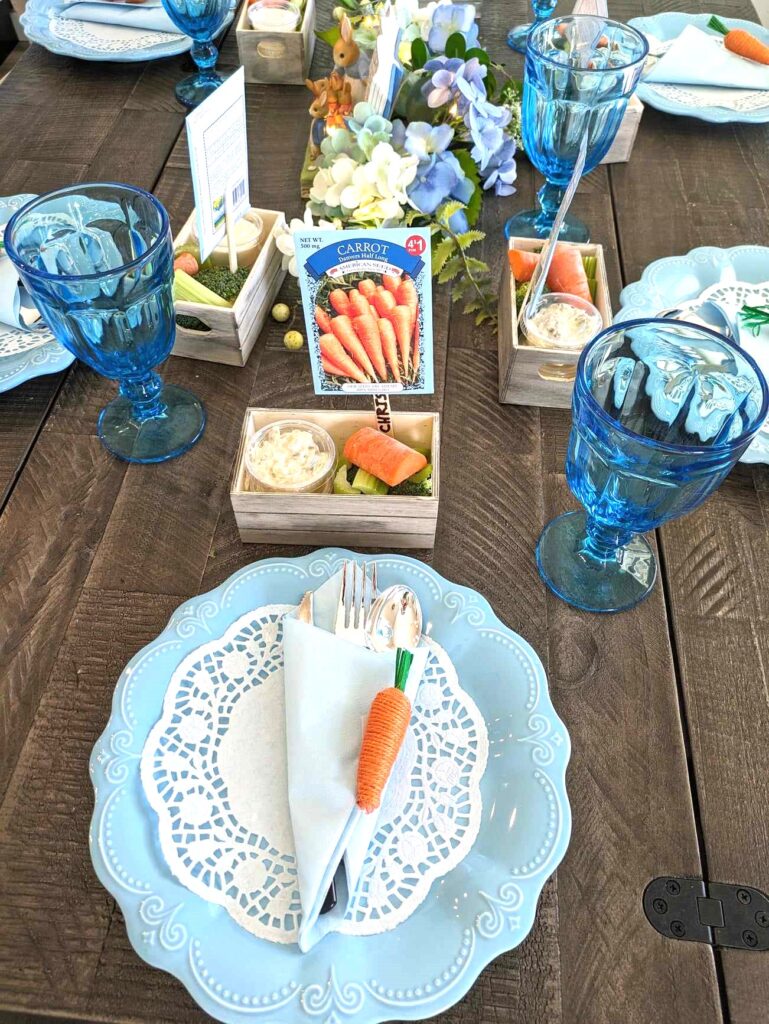
These mini crates were a HIT at the party! I put chopped up vegetables in each crate and placed mini dressing cups inside. This way people could still munch on the veggies during the main meal.
Create The Look…
This is probably going to be the easiest craft you’ve ever do!
**DON’T PAINT INSIDE THE CRATE WHERE FOOD IS STORED UNLESS YOU’RE USING EDIBLE OR SAFE PAINT. **
All The Supplies You’ll Need:
- Mini wooden crates (you can find them at Dollar Tree in their craft section where they store the wooden crafts)
- Paint brushes (Dollar Tree’s brushes kept losing little strands which was annoying to pick off the wood, but it does get the job done. If you have paint brushes at home I would opt for those instead)
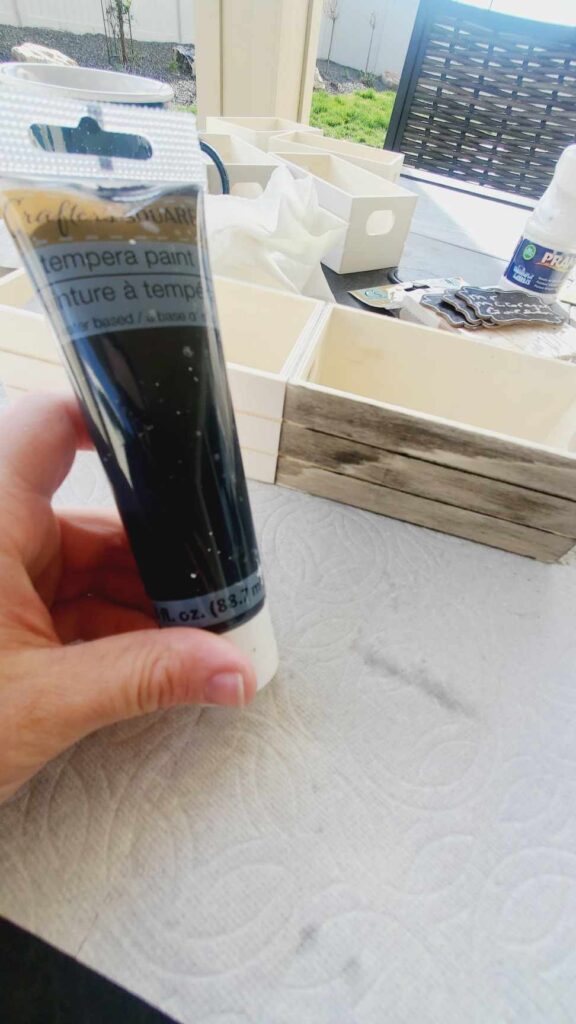
- Black paint (I got my paint at Dollar tree, but most any black paint will work) NOTE: I didn’t paint the inside of the crate where food would be stored because I didn’t know how safe this paint would be near food. Use caution when painting products that will store food.
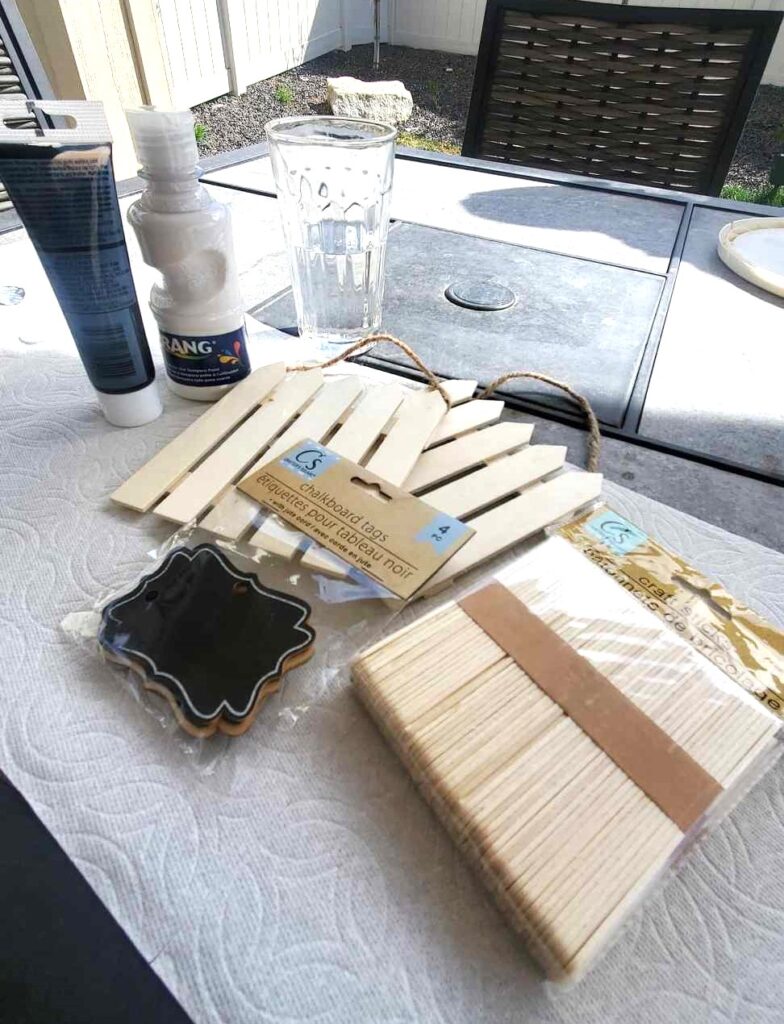
- Palette or paper plate (to mix the paint up)
- Glass of water
- Paper towel (to help protect the surface you’re painting on
Instructions:
1.) Place a small amount of black paint on your palette or paper plate. Use your paint brush to drip water into the paint until the color has been diluted. The less diluted the color, the darker your crates will be. The more diluted the color the lighter your crates will be.
2.) Once you’ve diluted your color to a desired level, horizontally stroke the paintbrush over the wooden crate multiple times. It’s okay if the strokes aren’t perfect as you’re creating a rustic look.
SAFETY WARNING: DON’T paint inside the crates if you’re not sure if the paint you’re using is safe to be near food. You can see in the image above I opted out of painting the inside for safety purposes.
3.) Let the crates dry before staging them at the dining table. I didn’t time the drying time, but I felt like it took over an hour to dry due to all the water I used.
There you have it! Insanely easy and cheap!
{Loving Our Peter The Rabbit Party Post? Check out: 22 Best Graduation Gifts For Girls She’ll Love You For!}
HOW TO MAKE THE NAMEPLATES
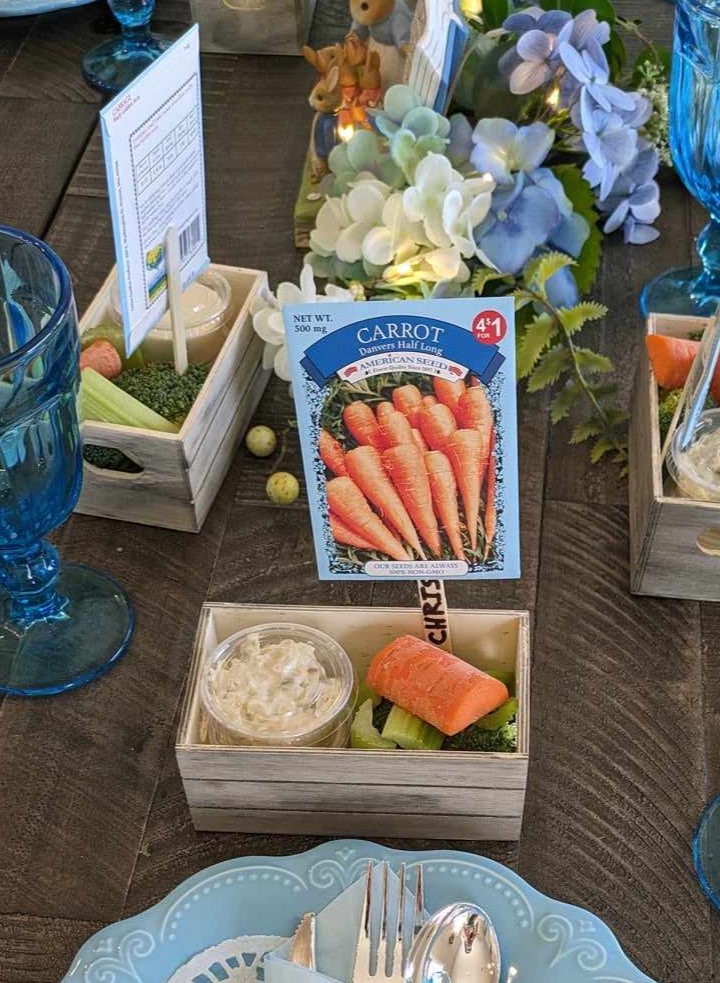
I purchased garden seed packets for 25 cents each at the Dollar Tree and a big package of popsicle sticks! I used tape to secure the seed packages to the popsicle sticks and lastly wrote names on the sticks.
HOW TO MAKE MR. MCGREGOR’S GARDEN SIGN

Go to Dollar Tree to get the wooden fence and also purchase the chalk board signs to hang over the fence. You might be a wiz at writing with chalk, but I learned Mr. Mcgregor’s Garden almost began a very blurry Mr. Mccgreegor’s gaden with my handy chalk work. My aunt saved the day by writing the sign for me, but she used the white ink pens instead of chalk. Just beware the white ink pens are permanent, so you may want to practice first. 😉
Instructions:
The instructions are the same as the veggie crate directions listed earlier in this blog post. However, I will say I initially purchased white paint from Dollar tree only to find the paint wasn’t showing up at all. So if you want white paint, I can’t personally recommend the brand they sell there. I found I achieved this look by going forward with watered down black paint, and I liked the rustic appearance.
{Enjoying Our Peter The Rabbit Themed Event? Check out: 69 Mother Daughter Date Ideas For All Ages}
RECREATE THE SPRING OUTFIT
Dress
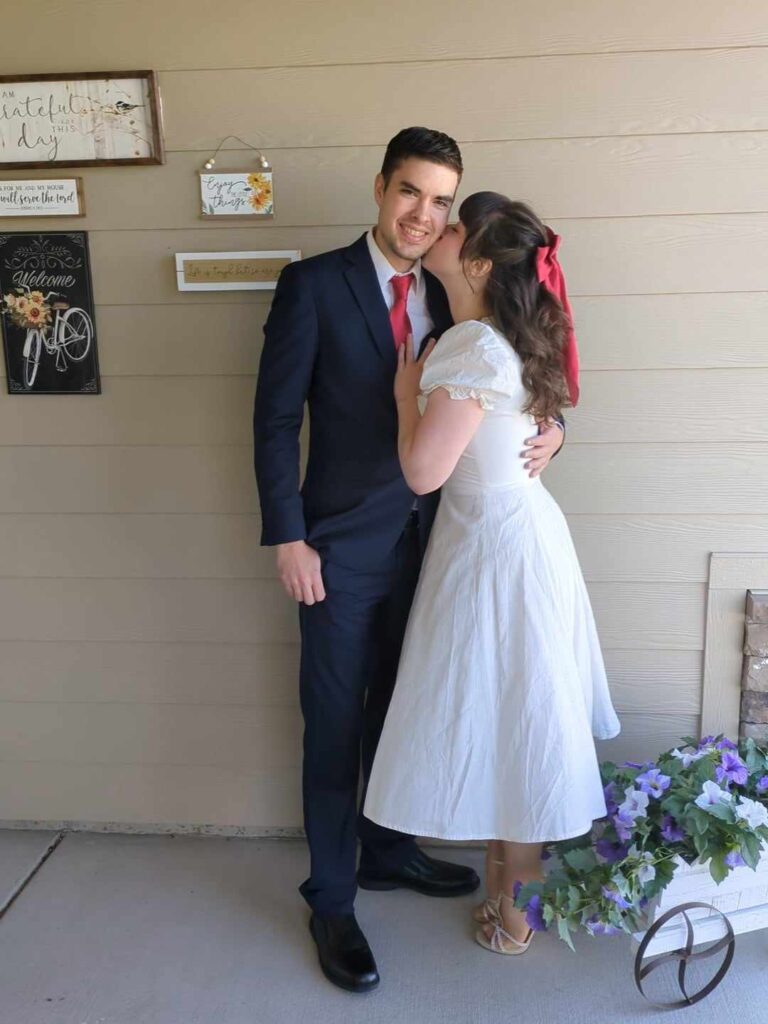
I purchased my dress from House Of CB, and I really cannot get over the boning in the corset! There isn’t so much boning throughout the corset to the point where I feel suffocated. Just enough boning on the sides of the waist to create that snatched look!
Accessories
I paired the House Of CB dress with elegant gold high heels from JCPenney. I started off the early part of the day not wearing the brown belt, until I tried it on and realized the dress looked 10 times better with this accessory. When in doubt, wear a belt! It’s been years since I’ve gotten this belt, but Amazon has plenty of different styles to choose from. 😉
I’ve been obsessed with the latest trend of putting bows in your hair. Honestly, the world could ditch this trend tomorrow, and you’d still find me sipping high tea with a bow pinned in my hair! I don’t think I could ever go back! I purchased my red ribbon from Amazon and the quality is really good!
Pro Tip: I personally feel House of CB could have added a bit more structure around the chest as the fabric wants to roll backwards. Considering the cut is already so low, you don’t have a lot of room for error in this dress. I purchased fabric tape to secure the front, but it’s still an annoyance. However, I couldn’t have worn this dress in public if I didn’t have the tape.
PETER RABBIT INVITATIONS
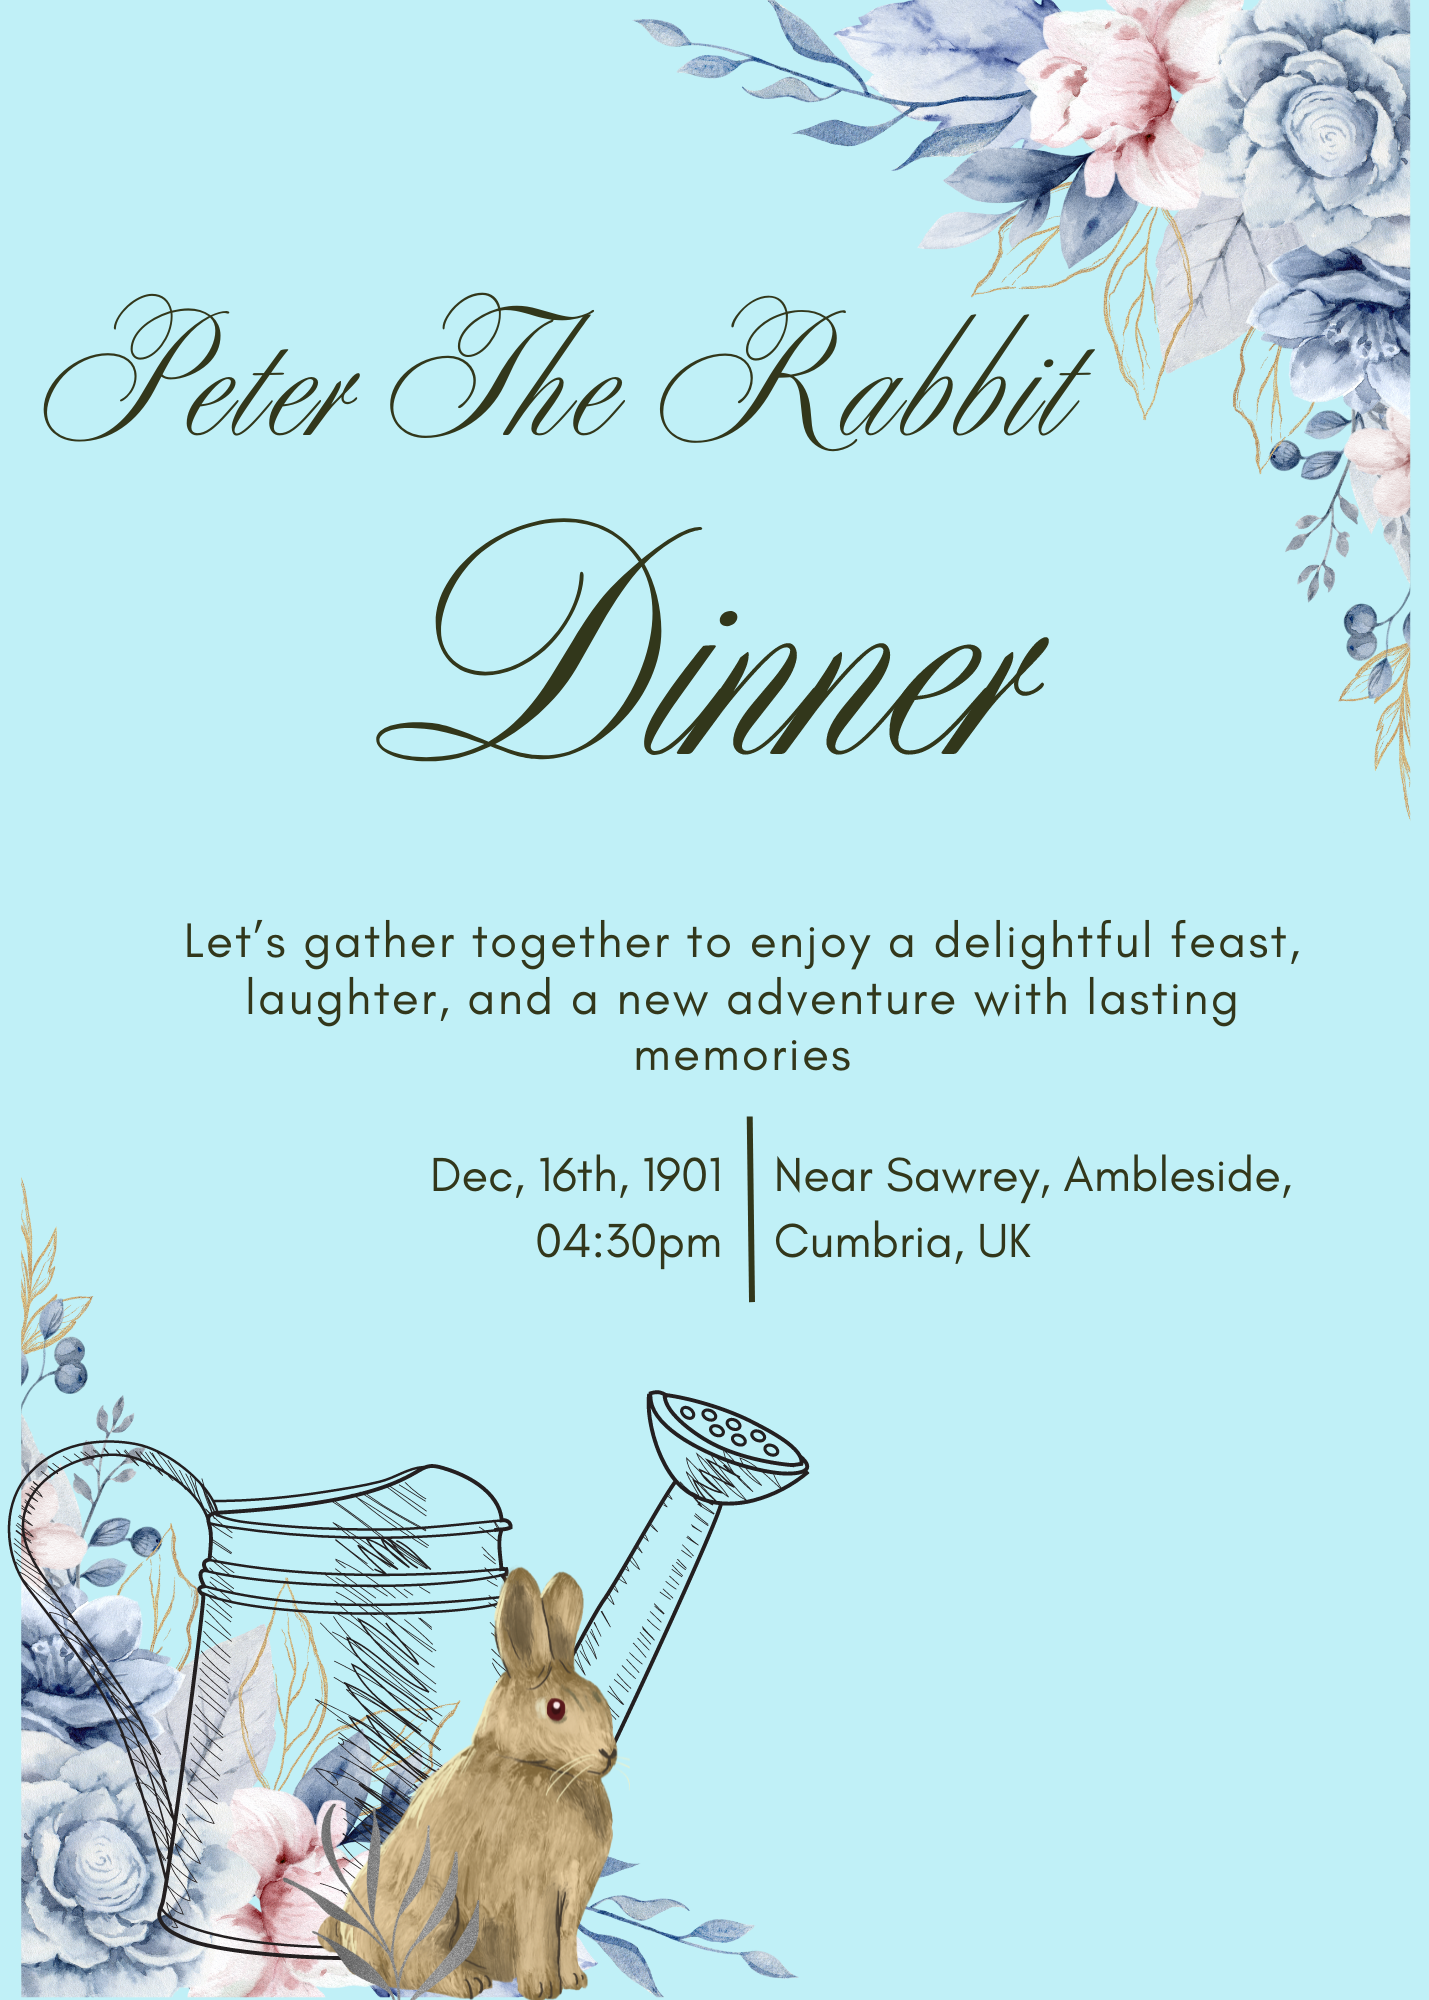
When my family decided to host a party, it was very last minute! A regret I have is not creating an adorable Peter the Rabbit invitation to send out to our guests because that would have been BEYOND amazing!
However, when you host things last minute you have to accept some things need to be prioritized over others. If you want to send out digital or physical invitations digitally, the number one resource I recommend is Canva! I created the above template using their free version, so you don’t have to upgrade to create an adorable invitation.
The above example is just a sample of what you can include, but here is a quick list of everything you might want to add to your invite.
- Type of party – Peter the Rabbit themed baby shower, birthday party, or family get together.
- Date
- Time
- Place
- Light Refreshments or main meal served?
- Attire. How to dress. Let your guests help you set the tone of your theme by inviting them to dress the part!
- RSVP – Please save yourself a headache and require an RSVP section!
Do You Like Our Peter The Rabbit post? Check out: Entertaining Hacks To Make You Look Like A Pro
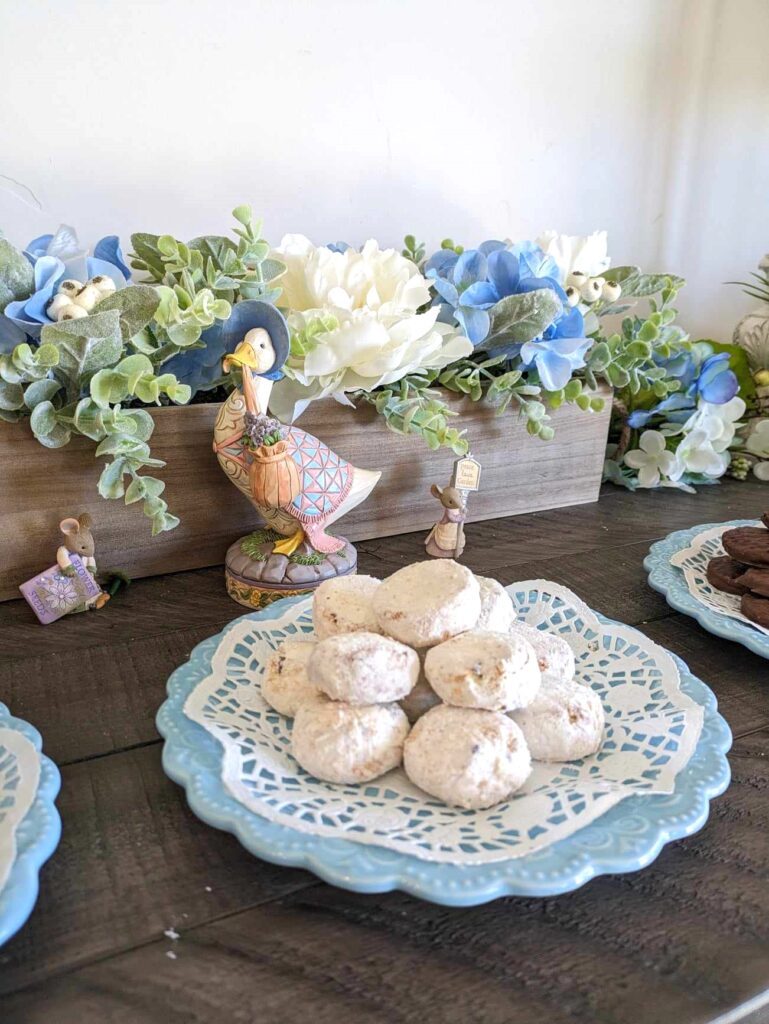
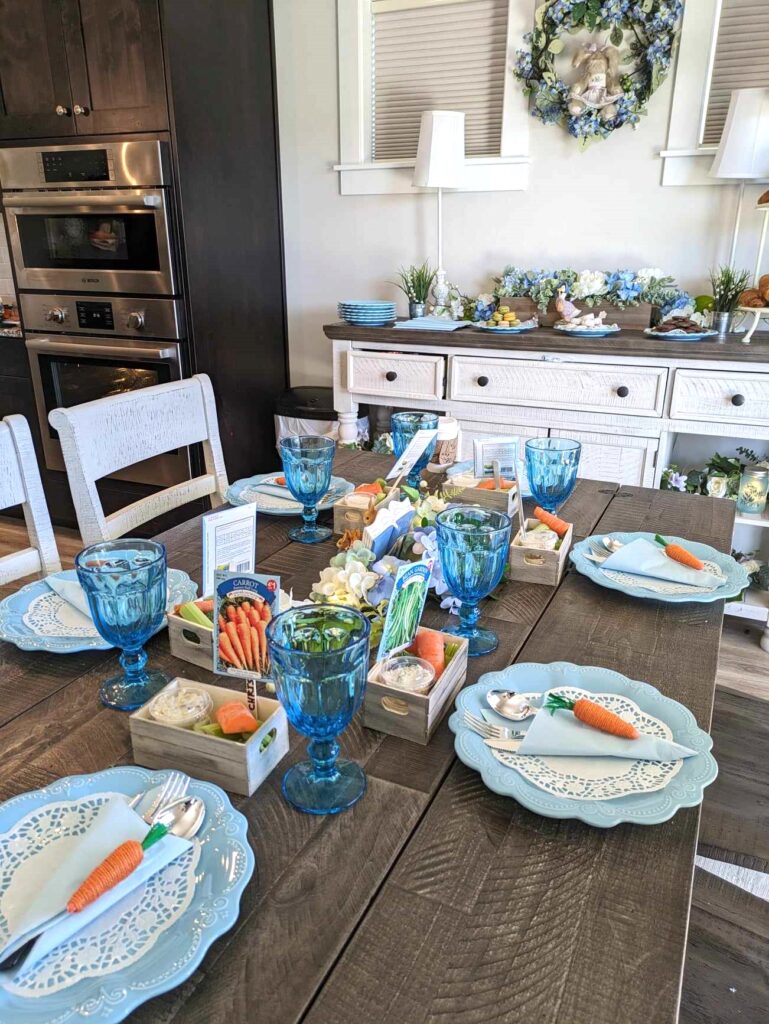
PETER RABBIT TABLESCAPE
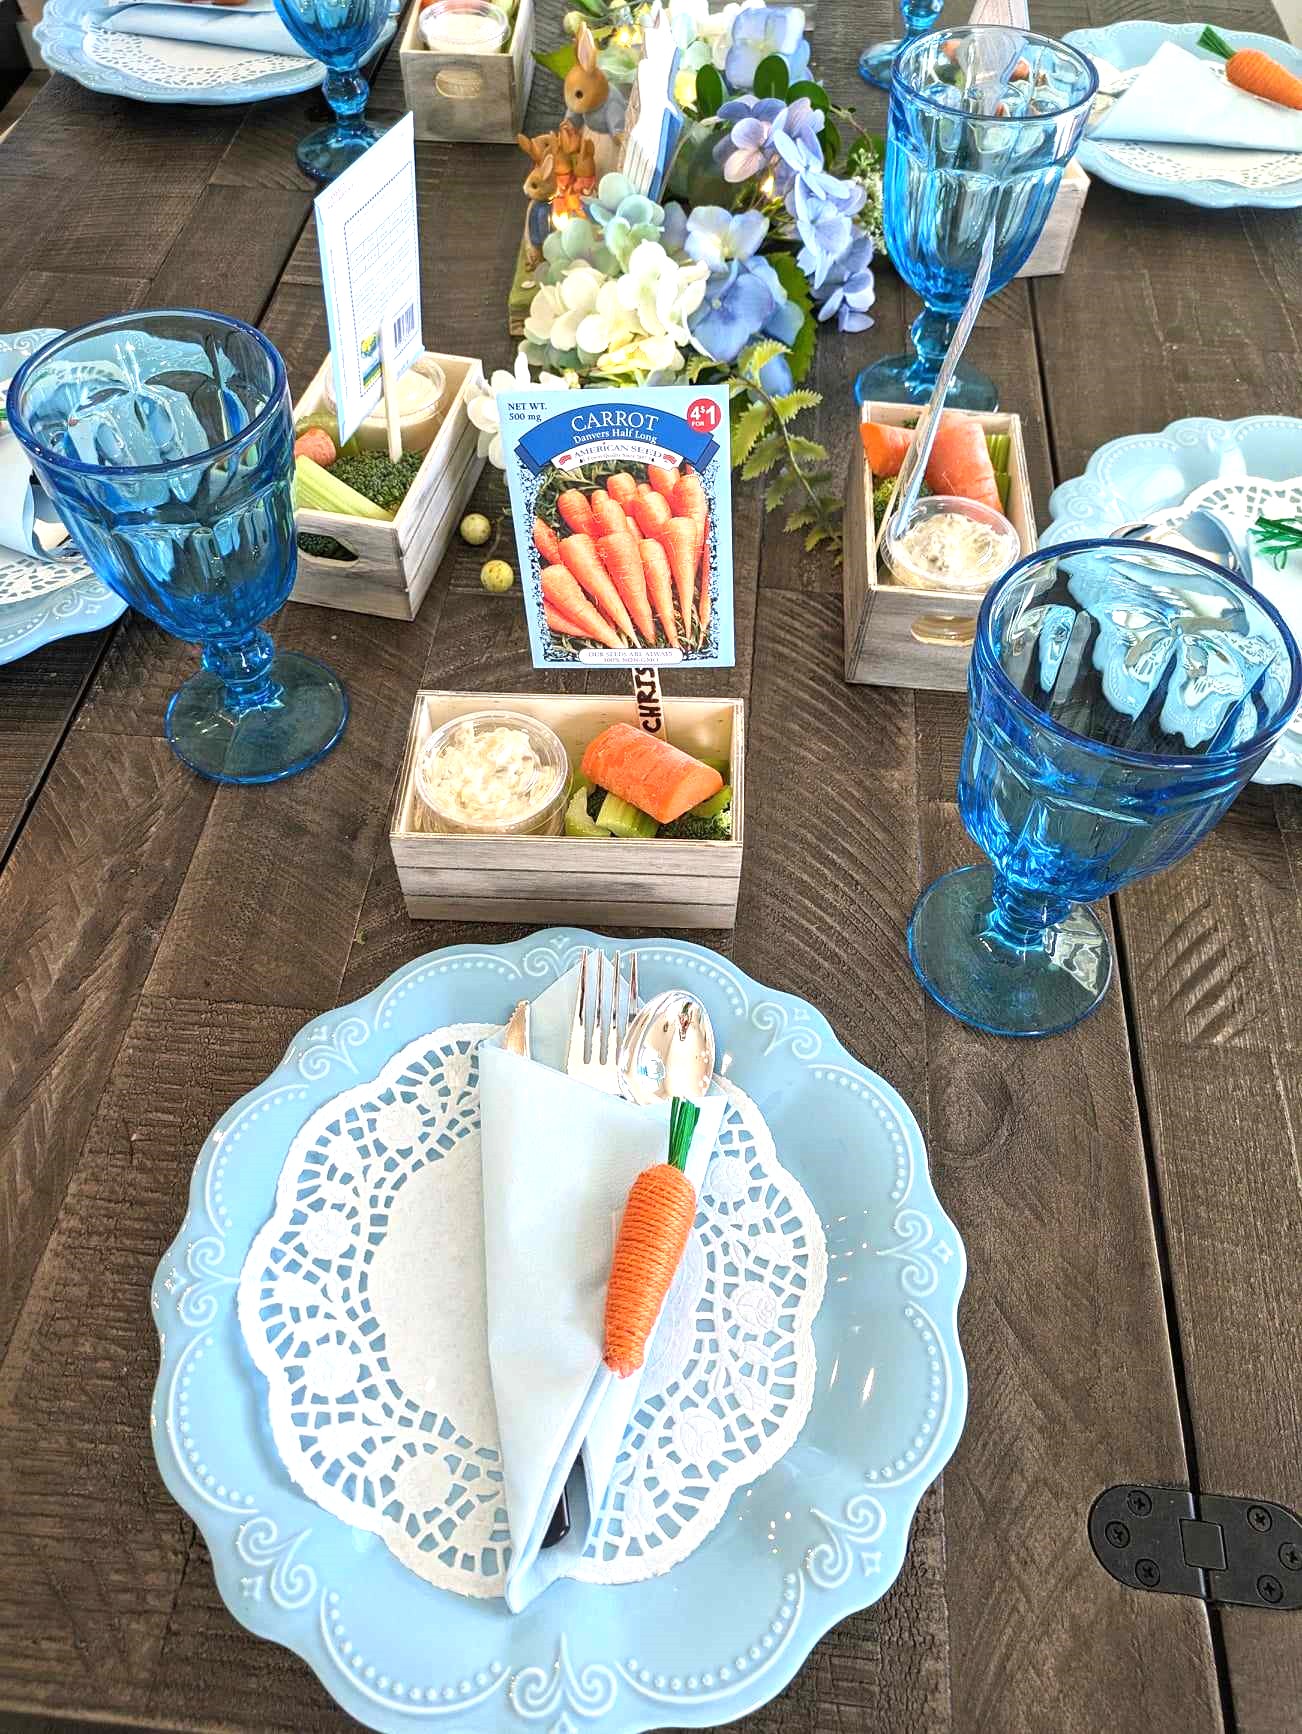
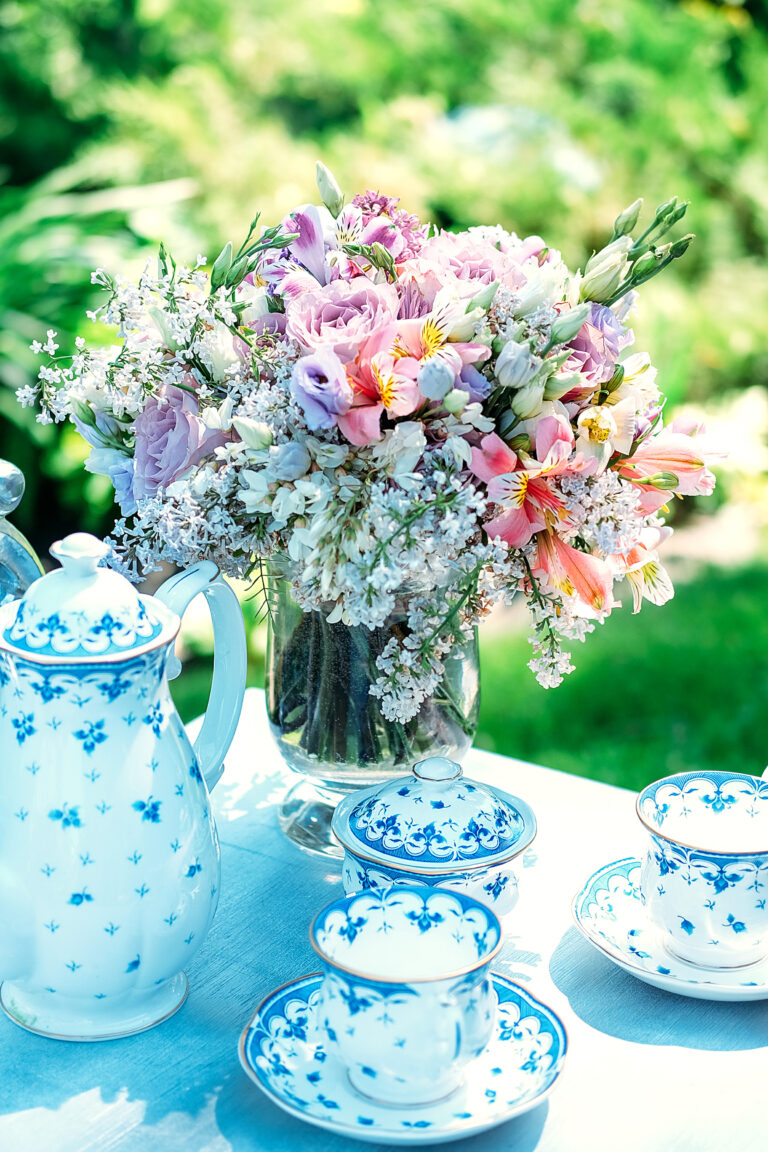
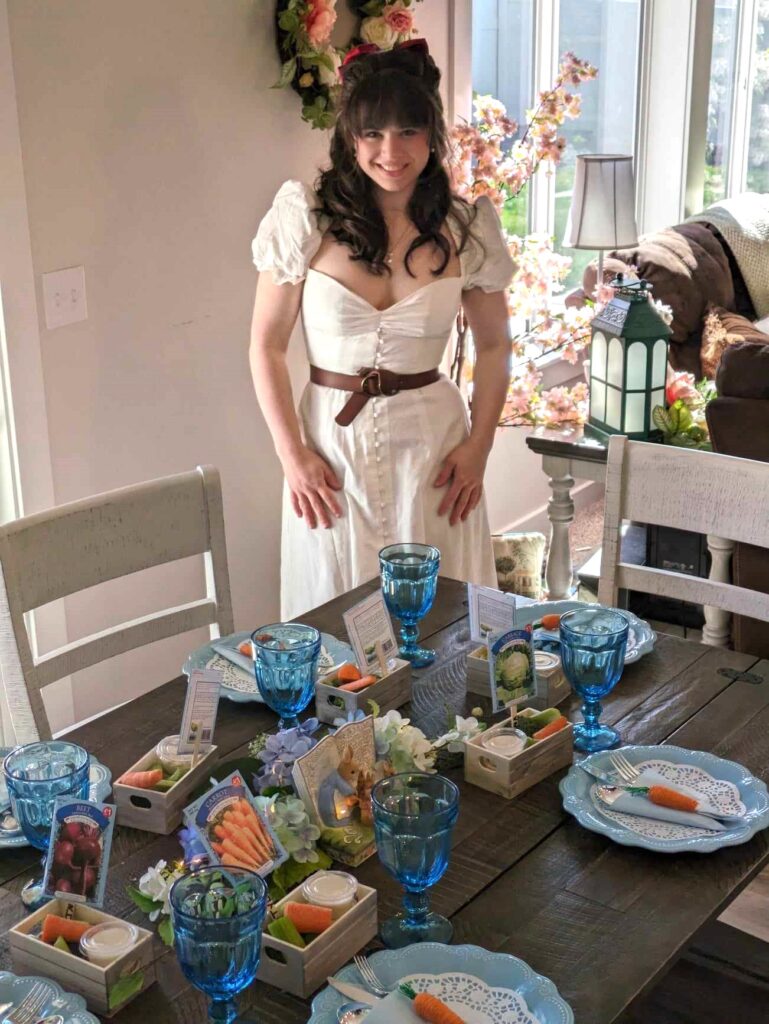
My mom had the cutest, blue goblets from Valerie Parr Hill and a light blue dinnerware set from Pioneer Woman. This inspired us to have blue as the dominant color throughout the event, but remember what I told you earlier regarding the color scheme?
Beatrix Potter’s original drawings illustrate so many colors other than Peter the Rabbit’s blue little coat, so don’t feel constrained if you don’t own a lot of blue details. Get creative and create your own version of this party! Here is a similar goblet set I found on Amazon as well as the Pioneer Woman dinnerware set my mom purchased a while back.
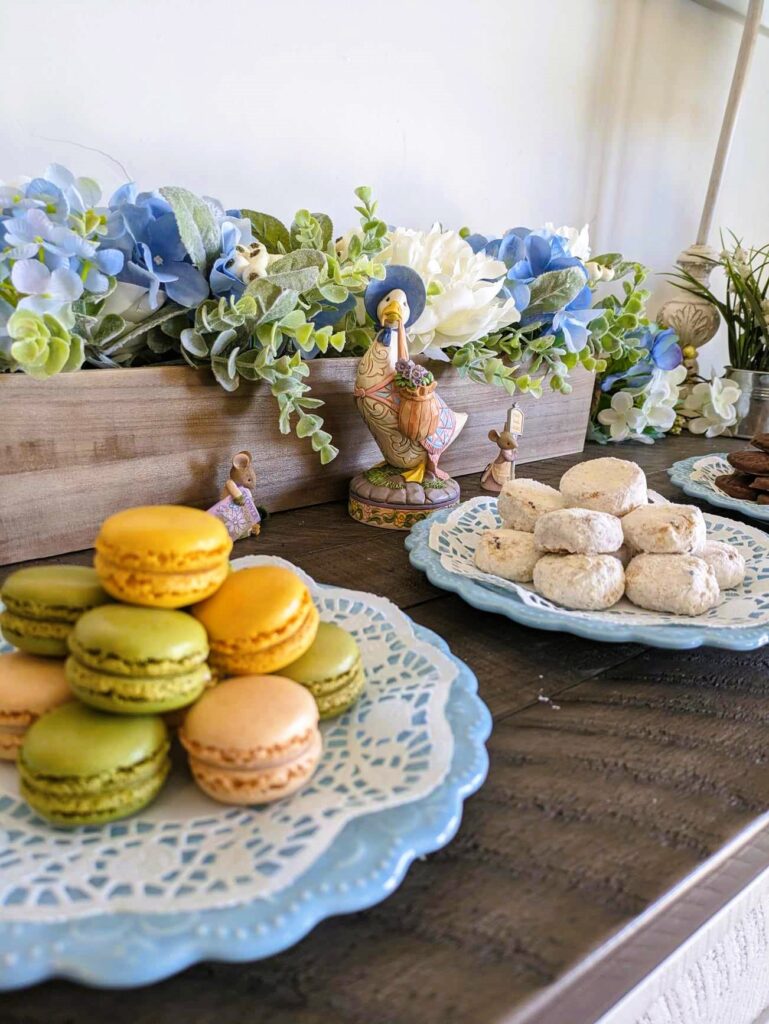
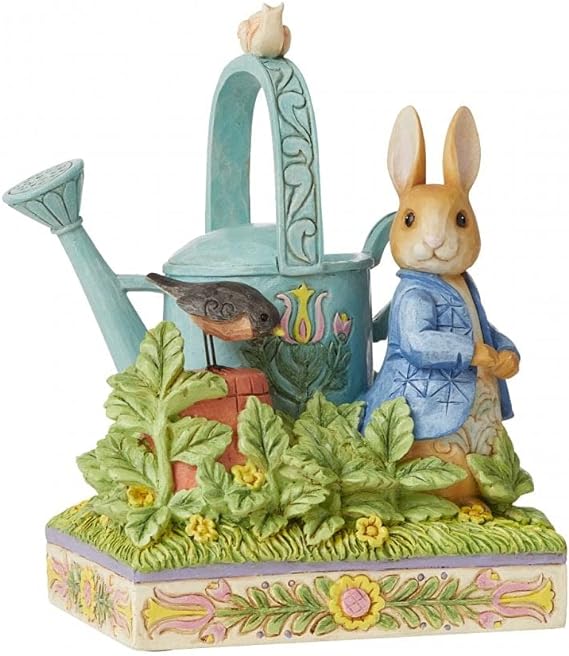
The floral picks surrounding both sides of the Jim Shore Peter the Rabbit figurine is by Valerie Parr Hill (a favorite decor designer for my mom). She purchased these a long time ago, but a new set of picks are currently out by the designer here.
The napkins, baby carrot, doilies, and utensils are all from Dollar Tree as this is my FAVORITE place to shop for the extra details. My mom had the creative idea of taping the baby carrot to the napkin, and I loved the final result!!!
This post was all about Peter the Rabbit garden party!
MORE IDEAS YOU’LL LOVE
This post was all about making your very own Peter the Rabbit Party